Last year Mr Hoozammer decided to purchase an old Philips Clock Radio. Just for fun, as he found the exact version (Model AS-285) on Face Book Marketplace as he had owned many (many) years ago. It was locally available, and it was only $25. Bargain! Refer to figure 1 below.
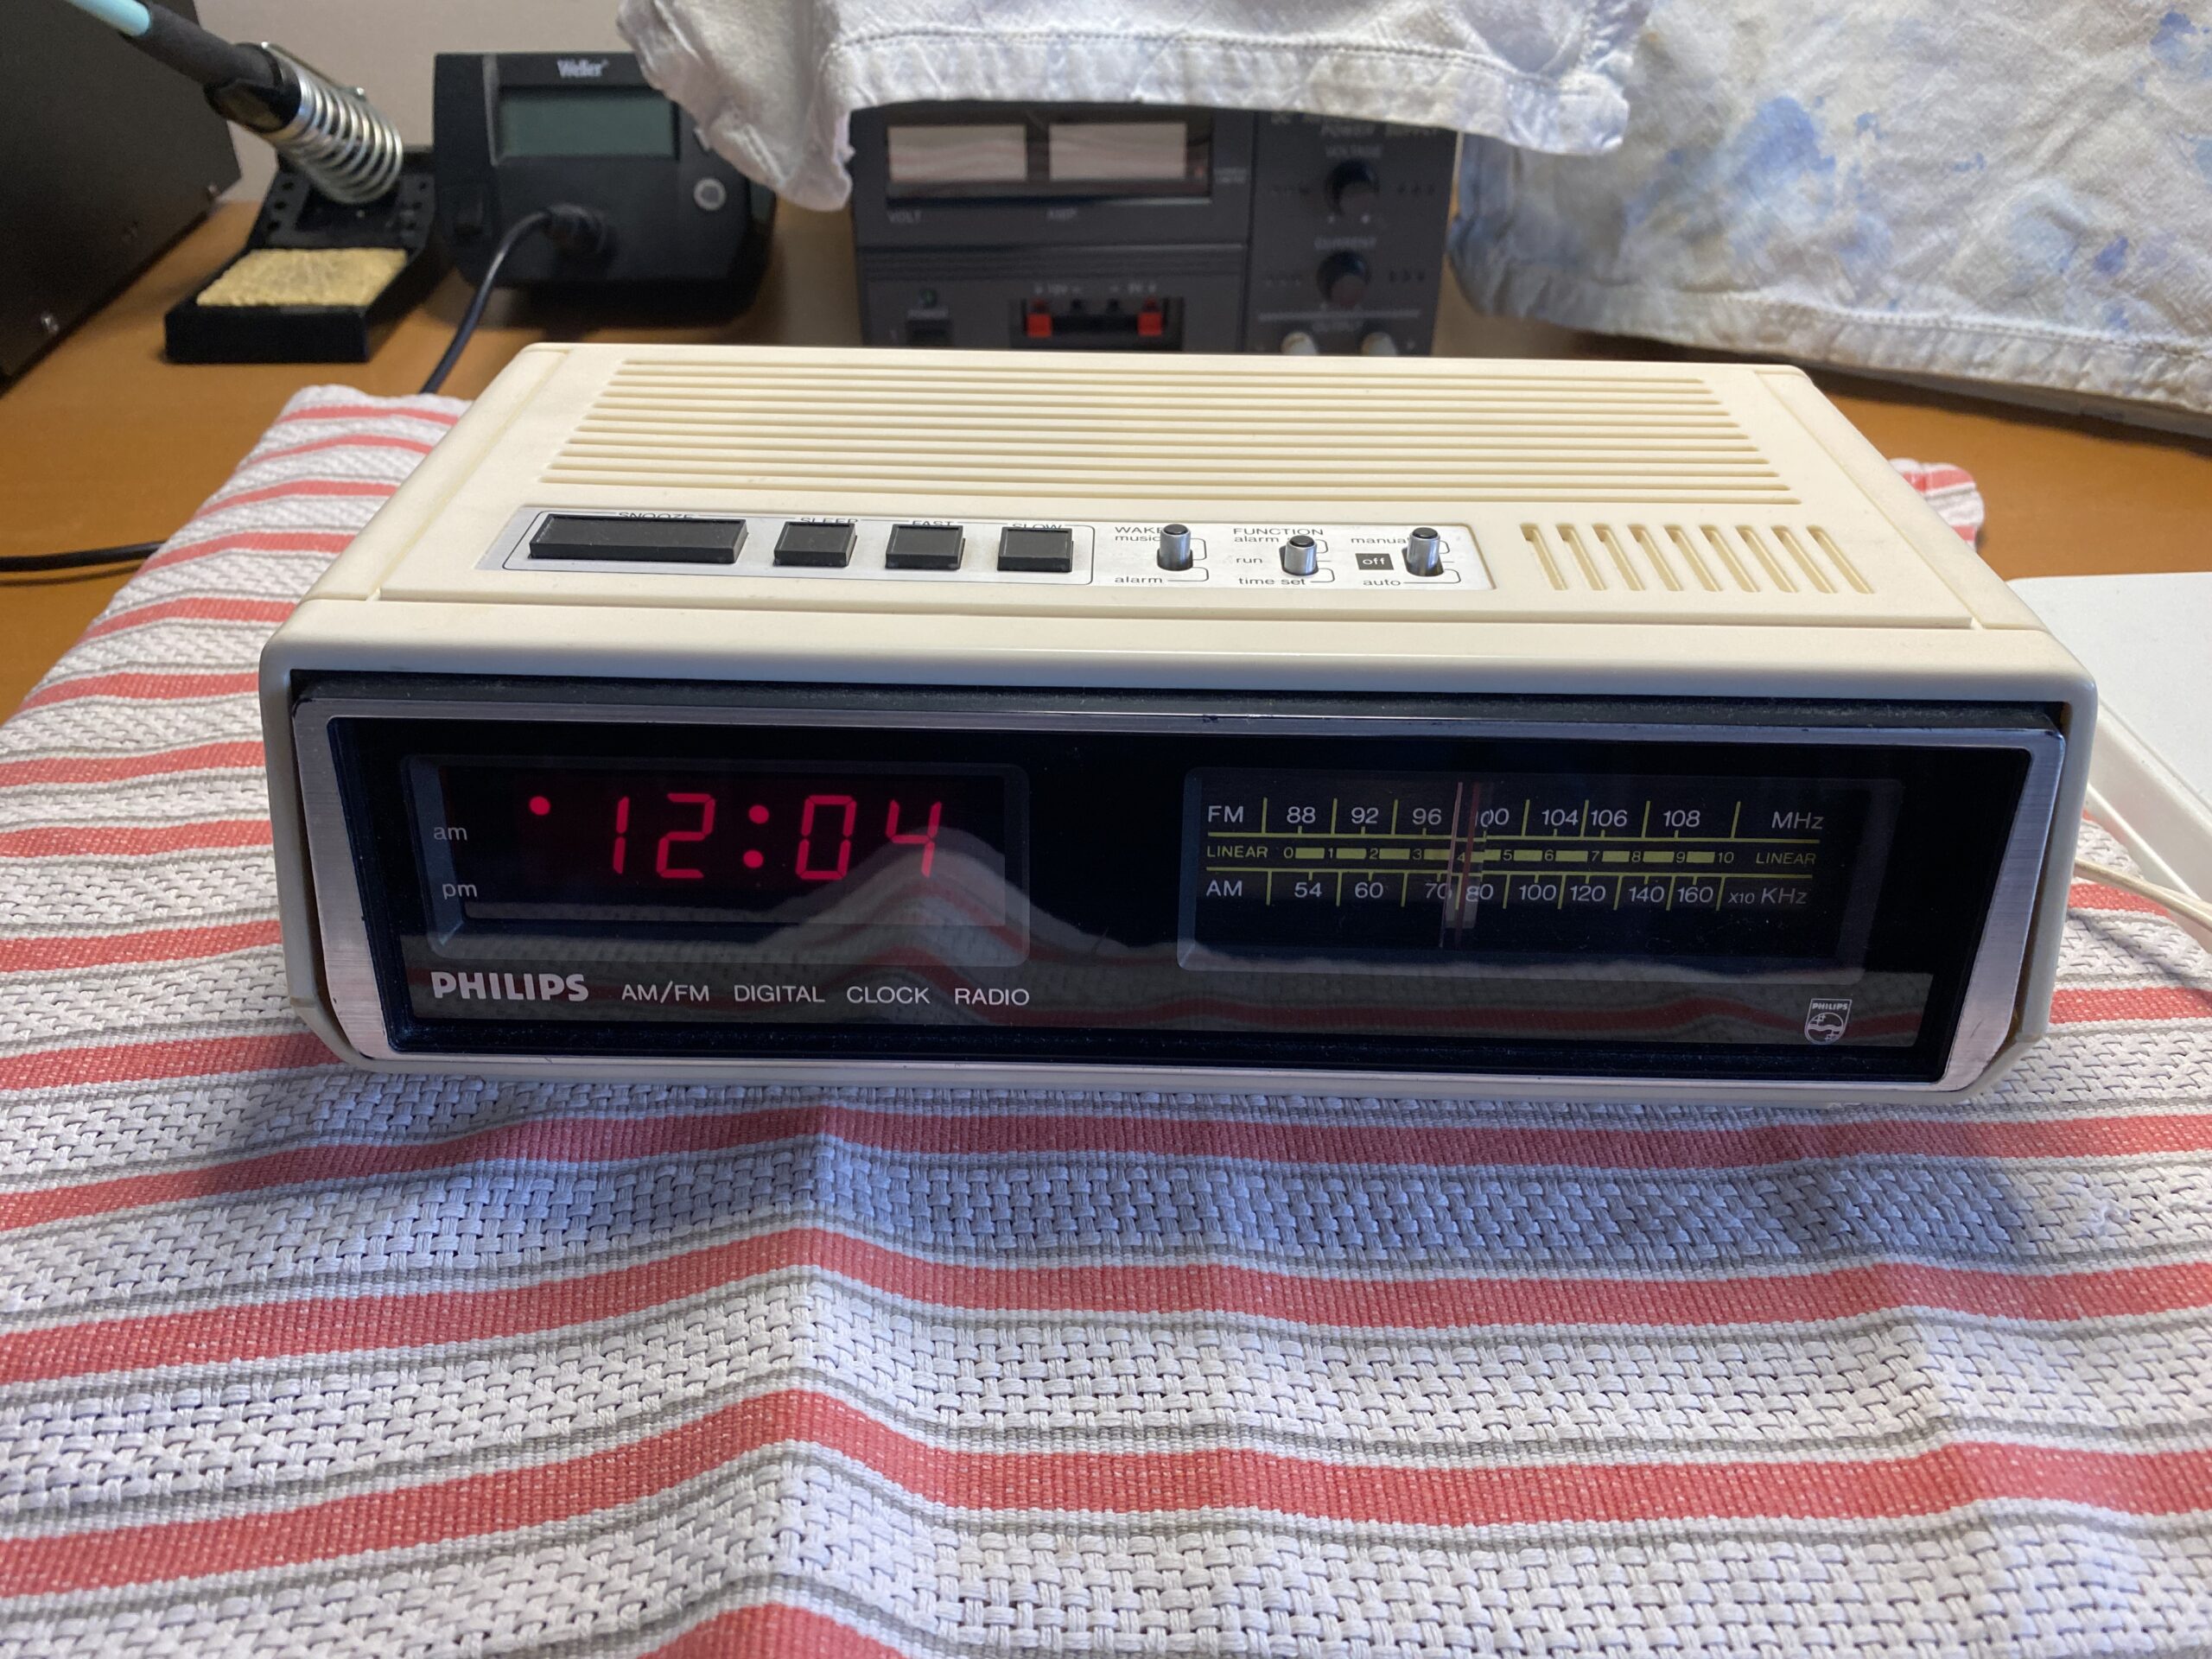
Figure 1 – Phillips model AS-285 Clock Radio
The clock radio was in great condition, except that the switches on the top of the unit, which were used to adjust the clock’s time, were becoming intermittently unresponsive. A couple of days ago they failed completely, so Mr Hoozammer pulled the clock radio apart to see if they could be fixed.
Here are the steps taken to repair the switches:
1. Open up the unit and remove the switch assembly
This was more difficult that expected, as the printed circuit board (pcb) containing the switch contacts was firmly glued to the inside of the clock’s top inside-cover. The glue was scraped back and the assembly leveraged out from its retaining brackets. Refer to Figures 2, 3, and 4.
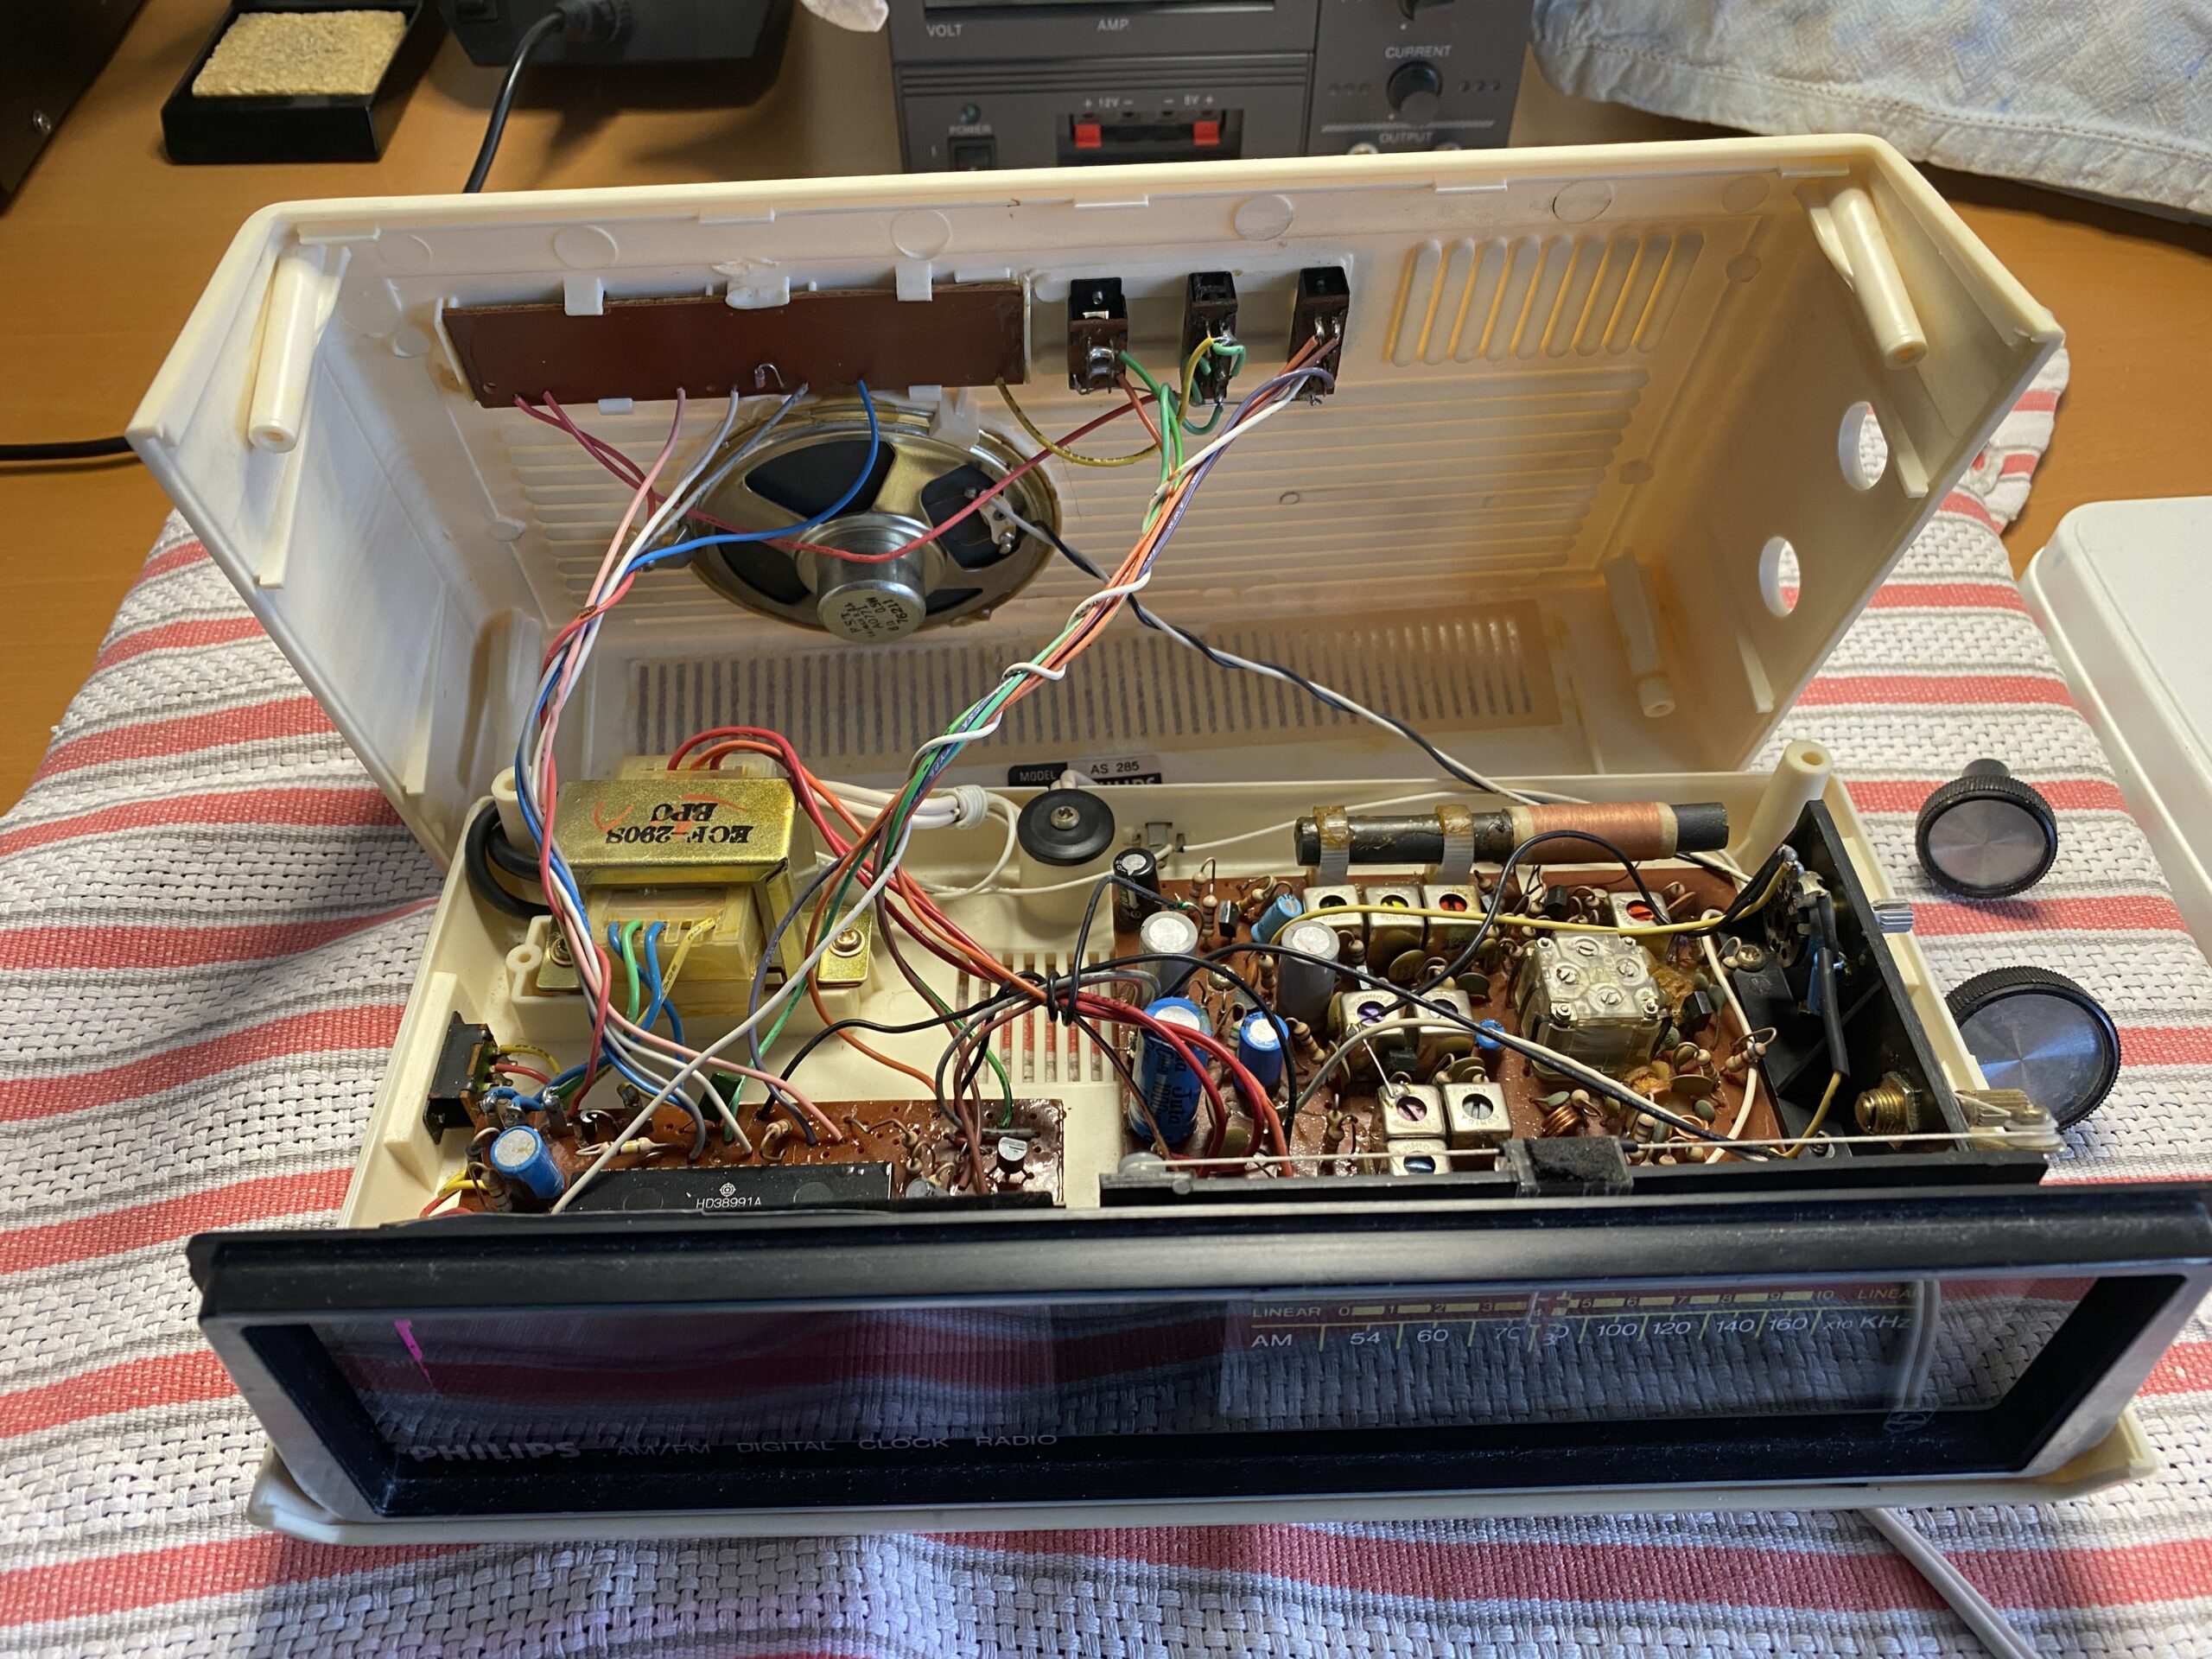
Figure 2 – Unit opened up – showing position of switch assembly
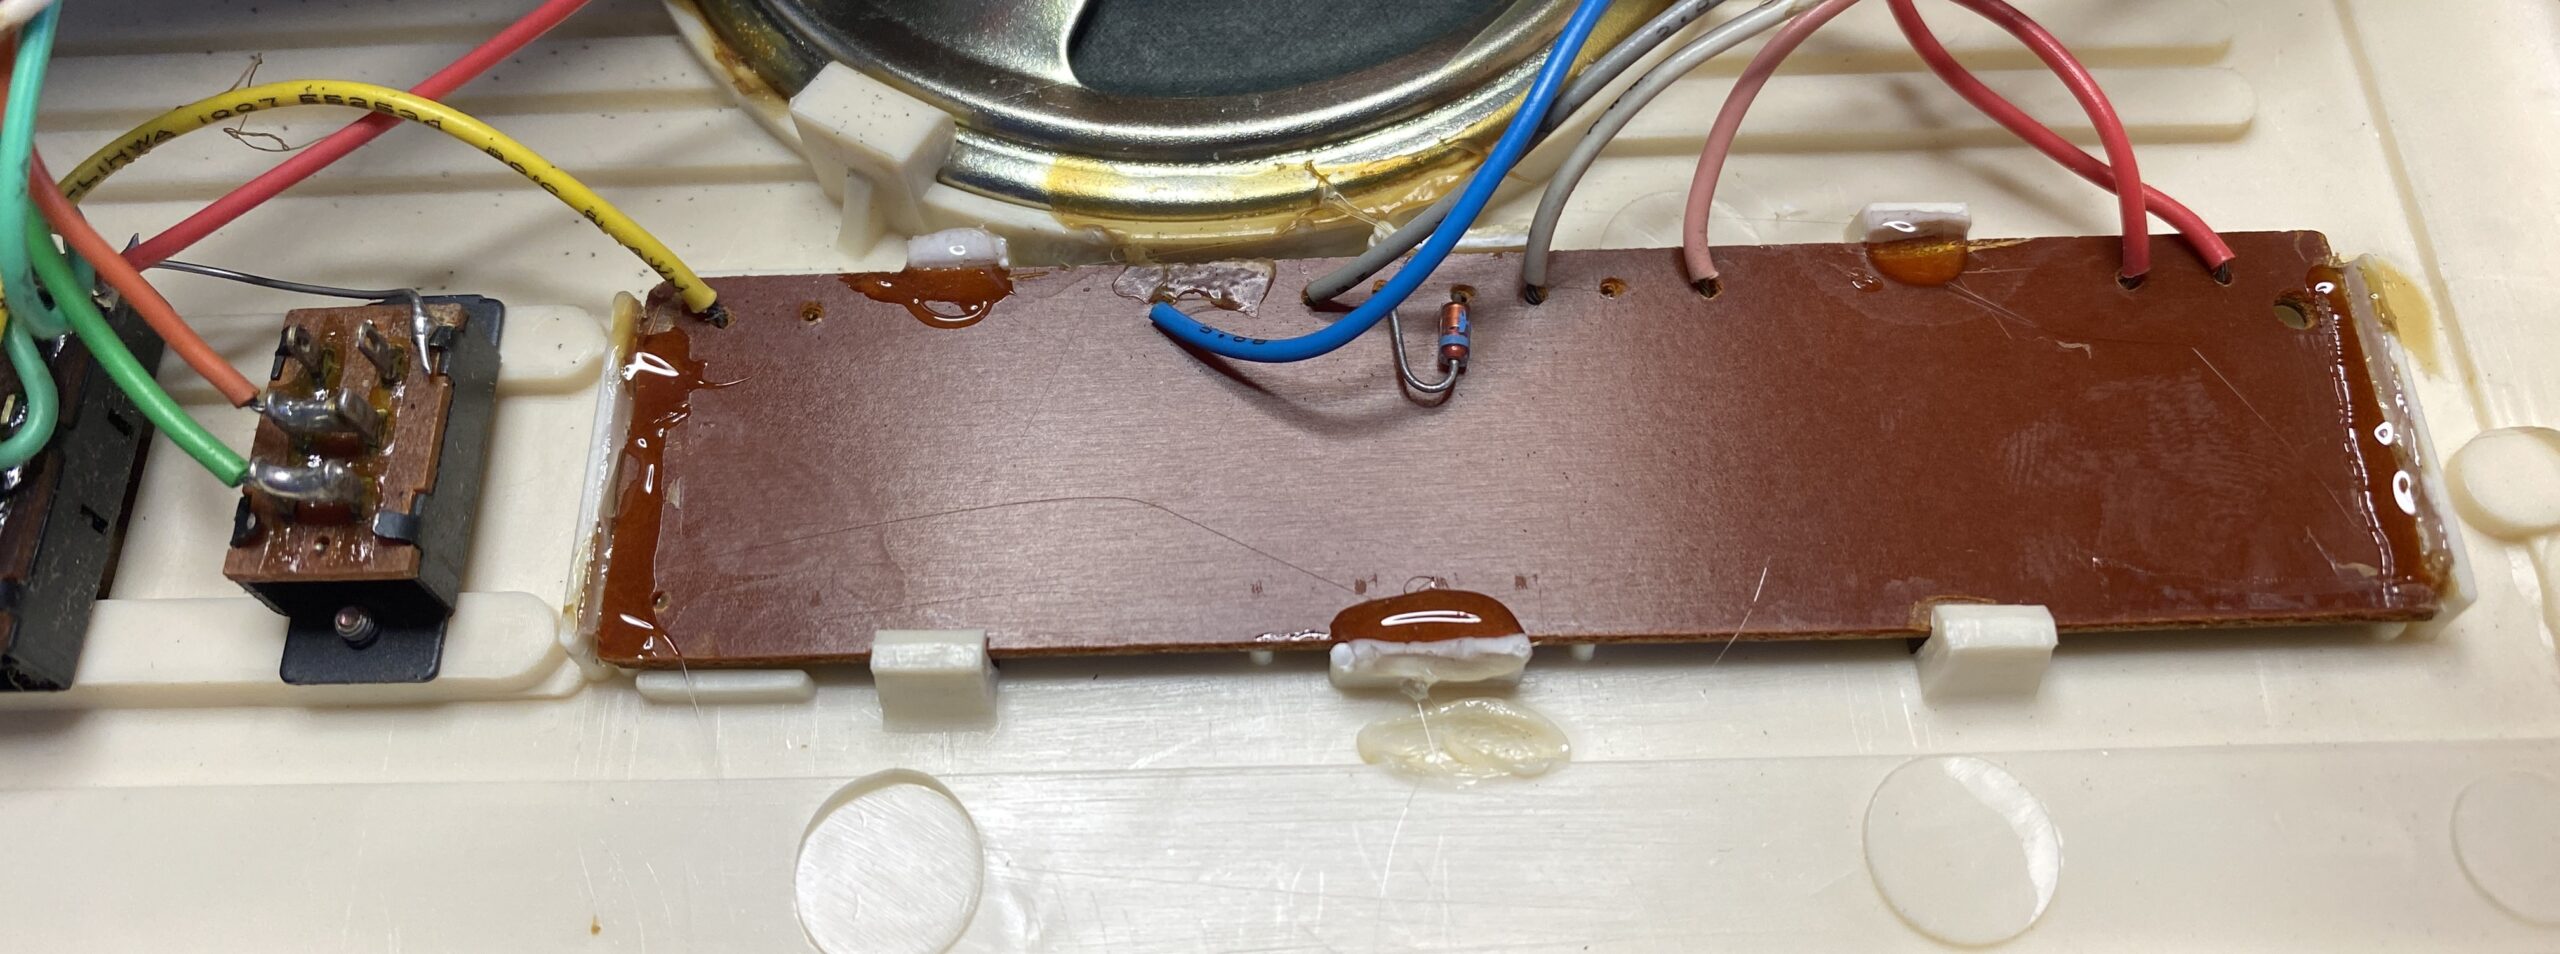
Figure 3 – Detail of switch assembly. Lots of very old glue!
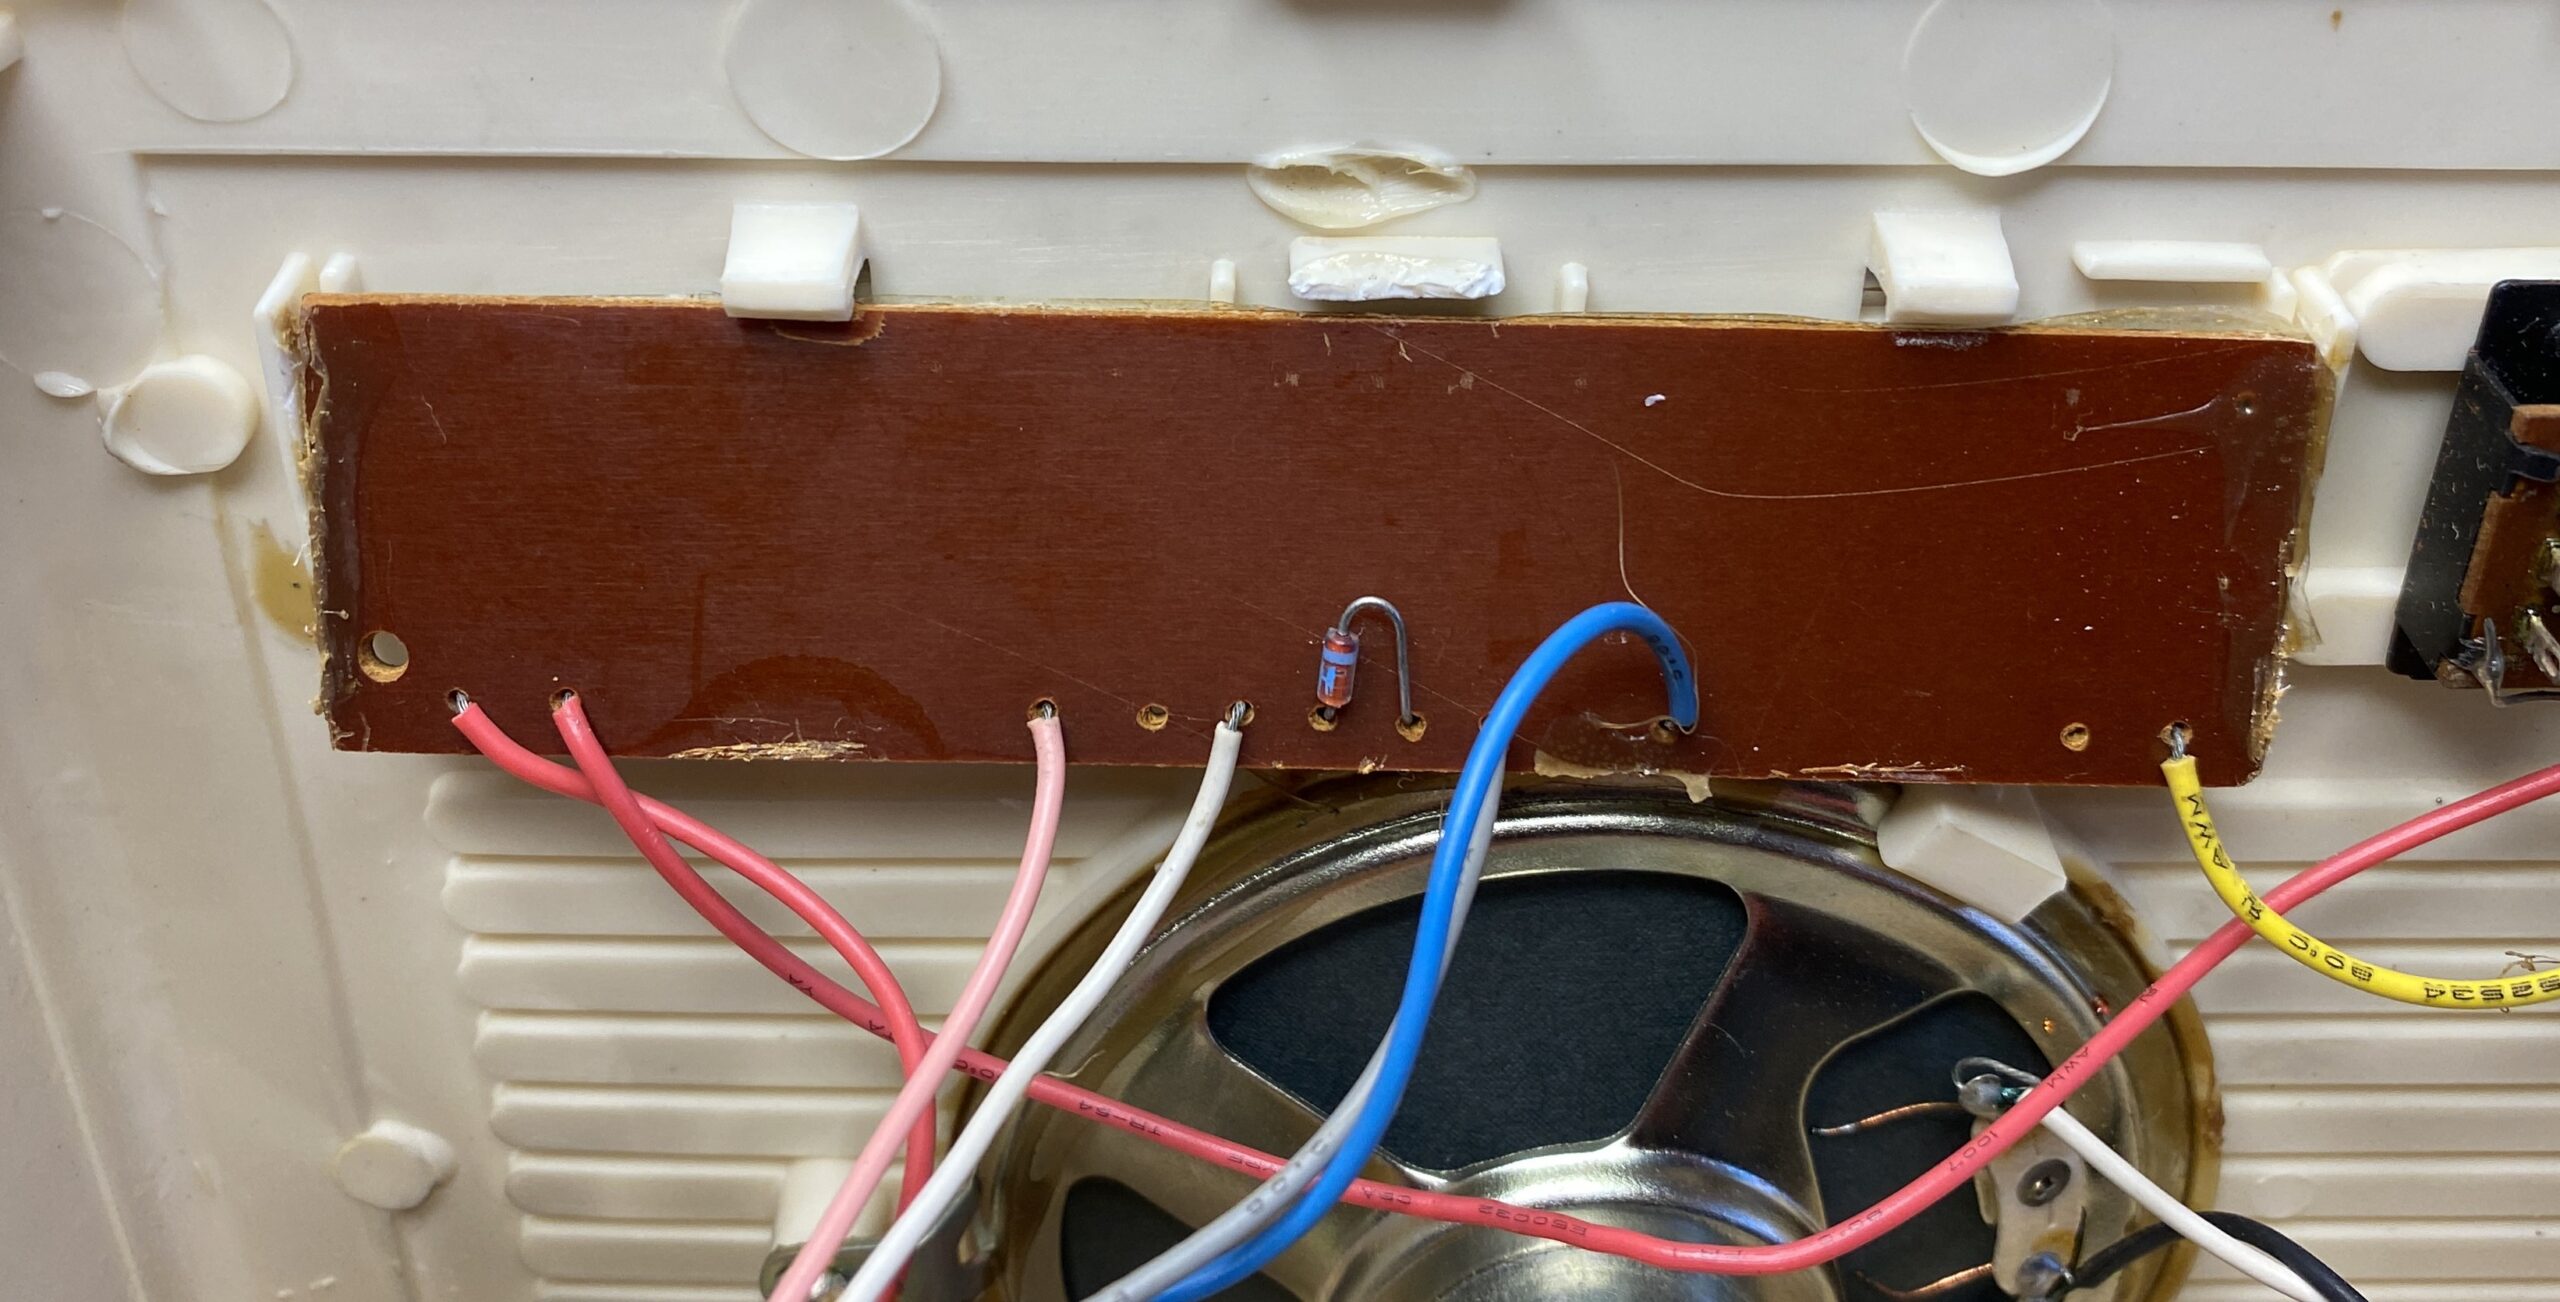
Figure 4 – Glue scraped off and assembly removed from bottom retaining clips
2. Disassemble the switch assembly and clean the switch contacts
With the switch assembly removed, the old ‘cello-tape’ holding the switch contacts in place was stripped off, and the underlying top surface of the pcb was cleaned using ethanol and a cotton bud. The internal switch contacts were removed and cleaned in the same way. Refer to figures 5, 6,7 and 8 below.
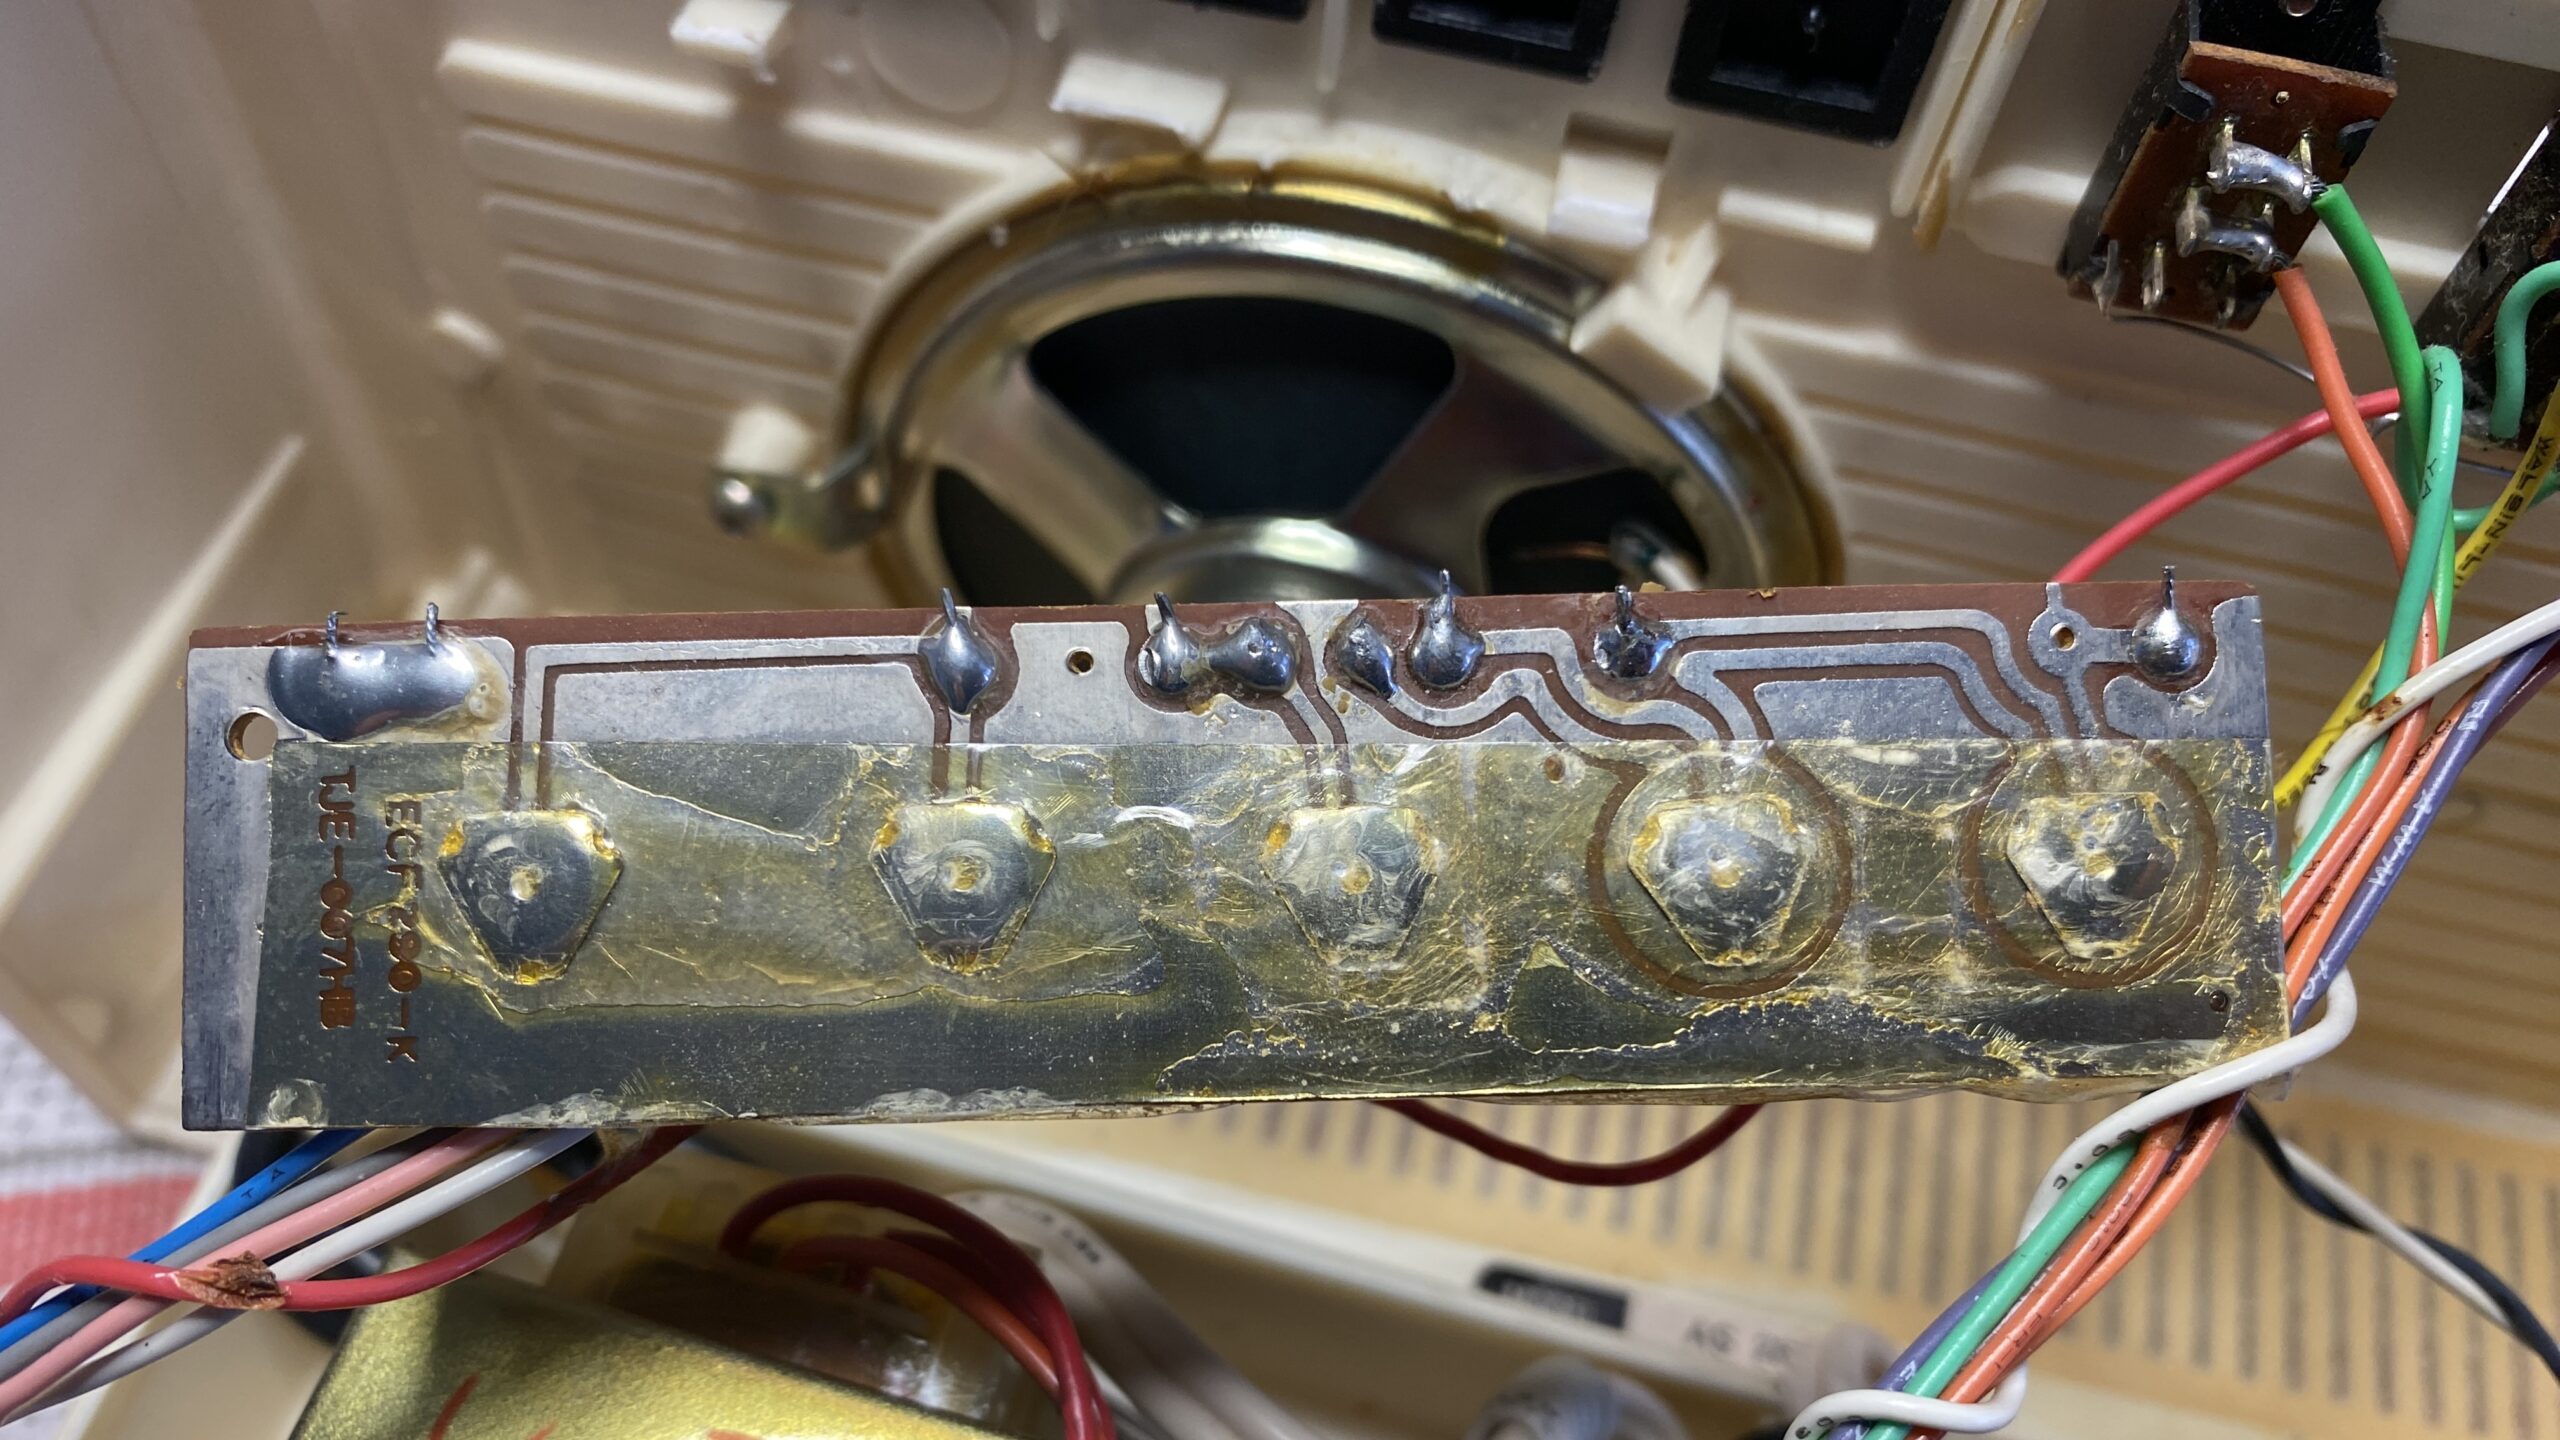
Figure 5 – Detail of very old tape covering the switch contacts
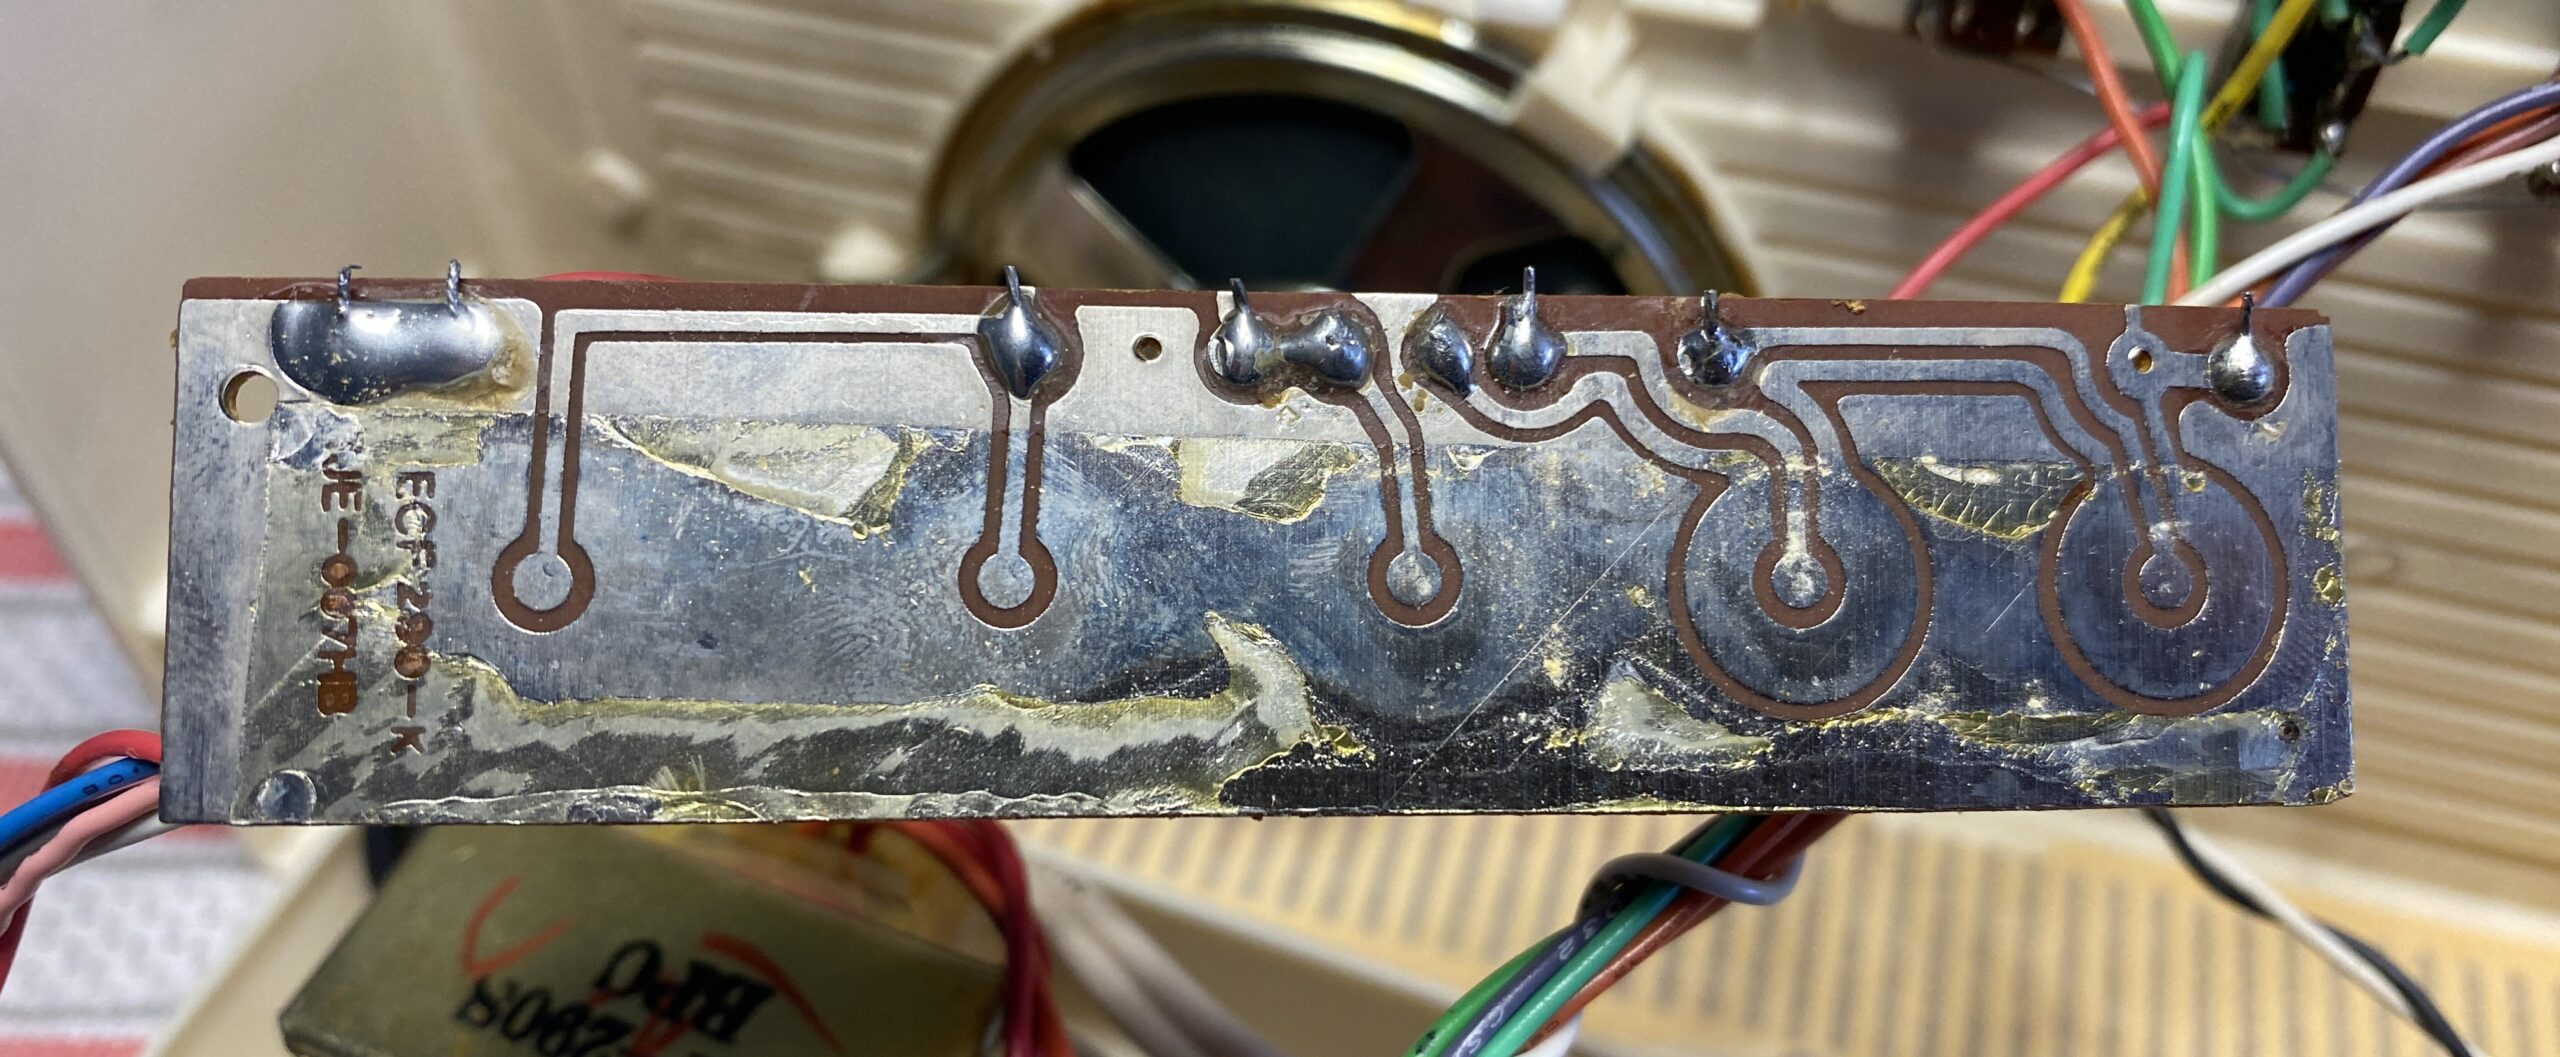
Figure 6 – Tape and contacts removed, showing dried tape adhesive
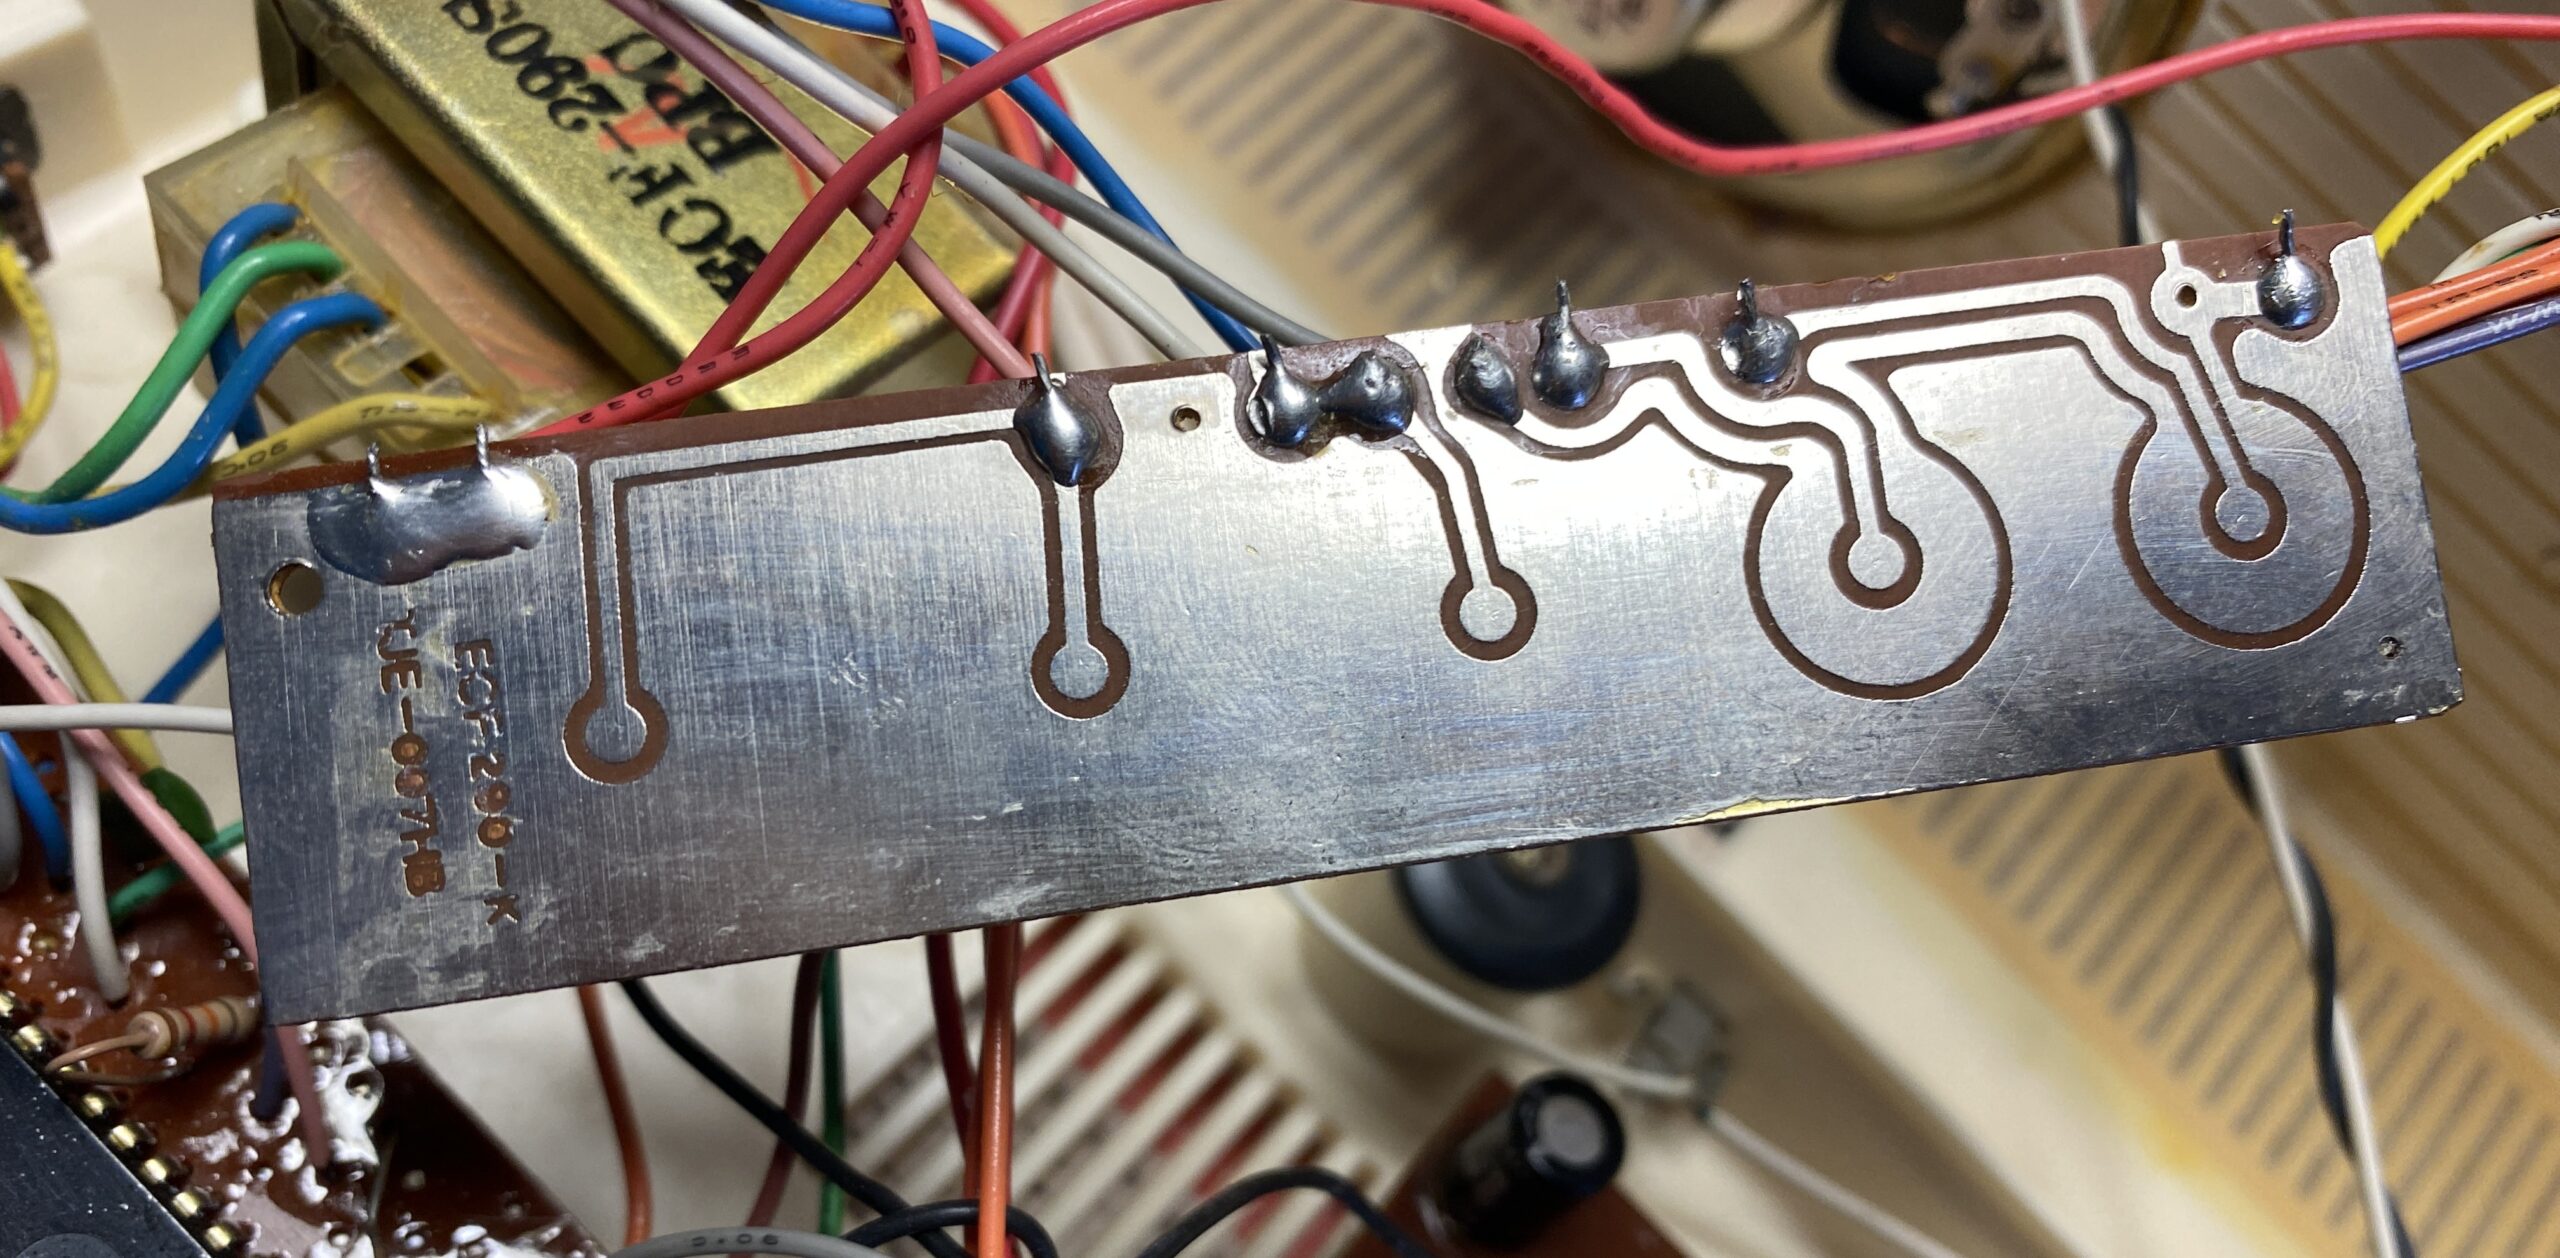
Figure 7 – Cleaned switch pcb
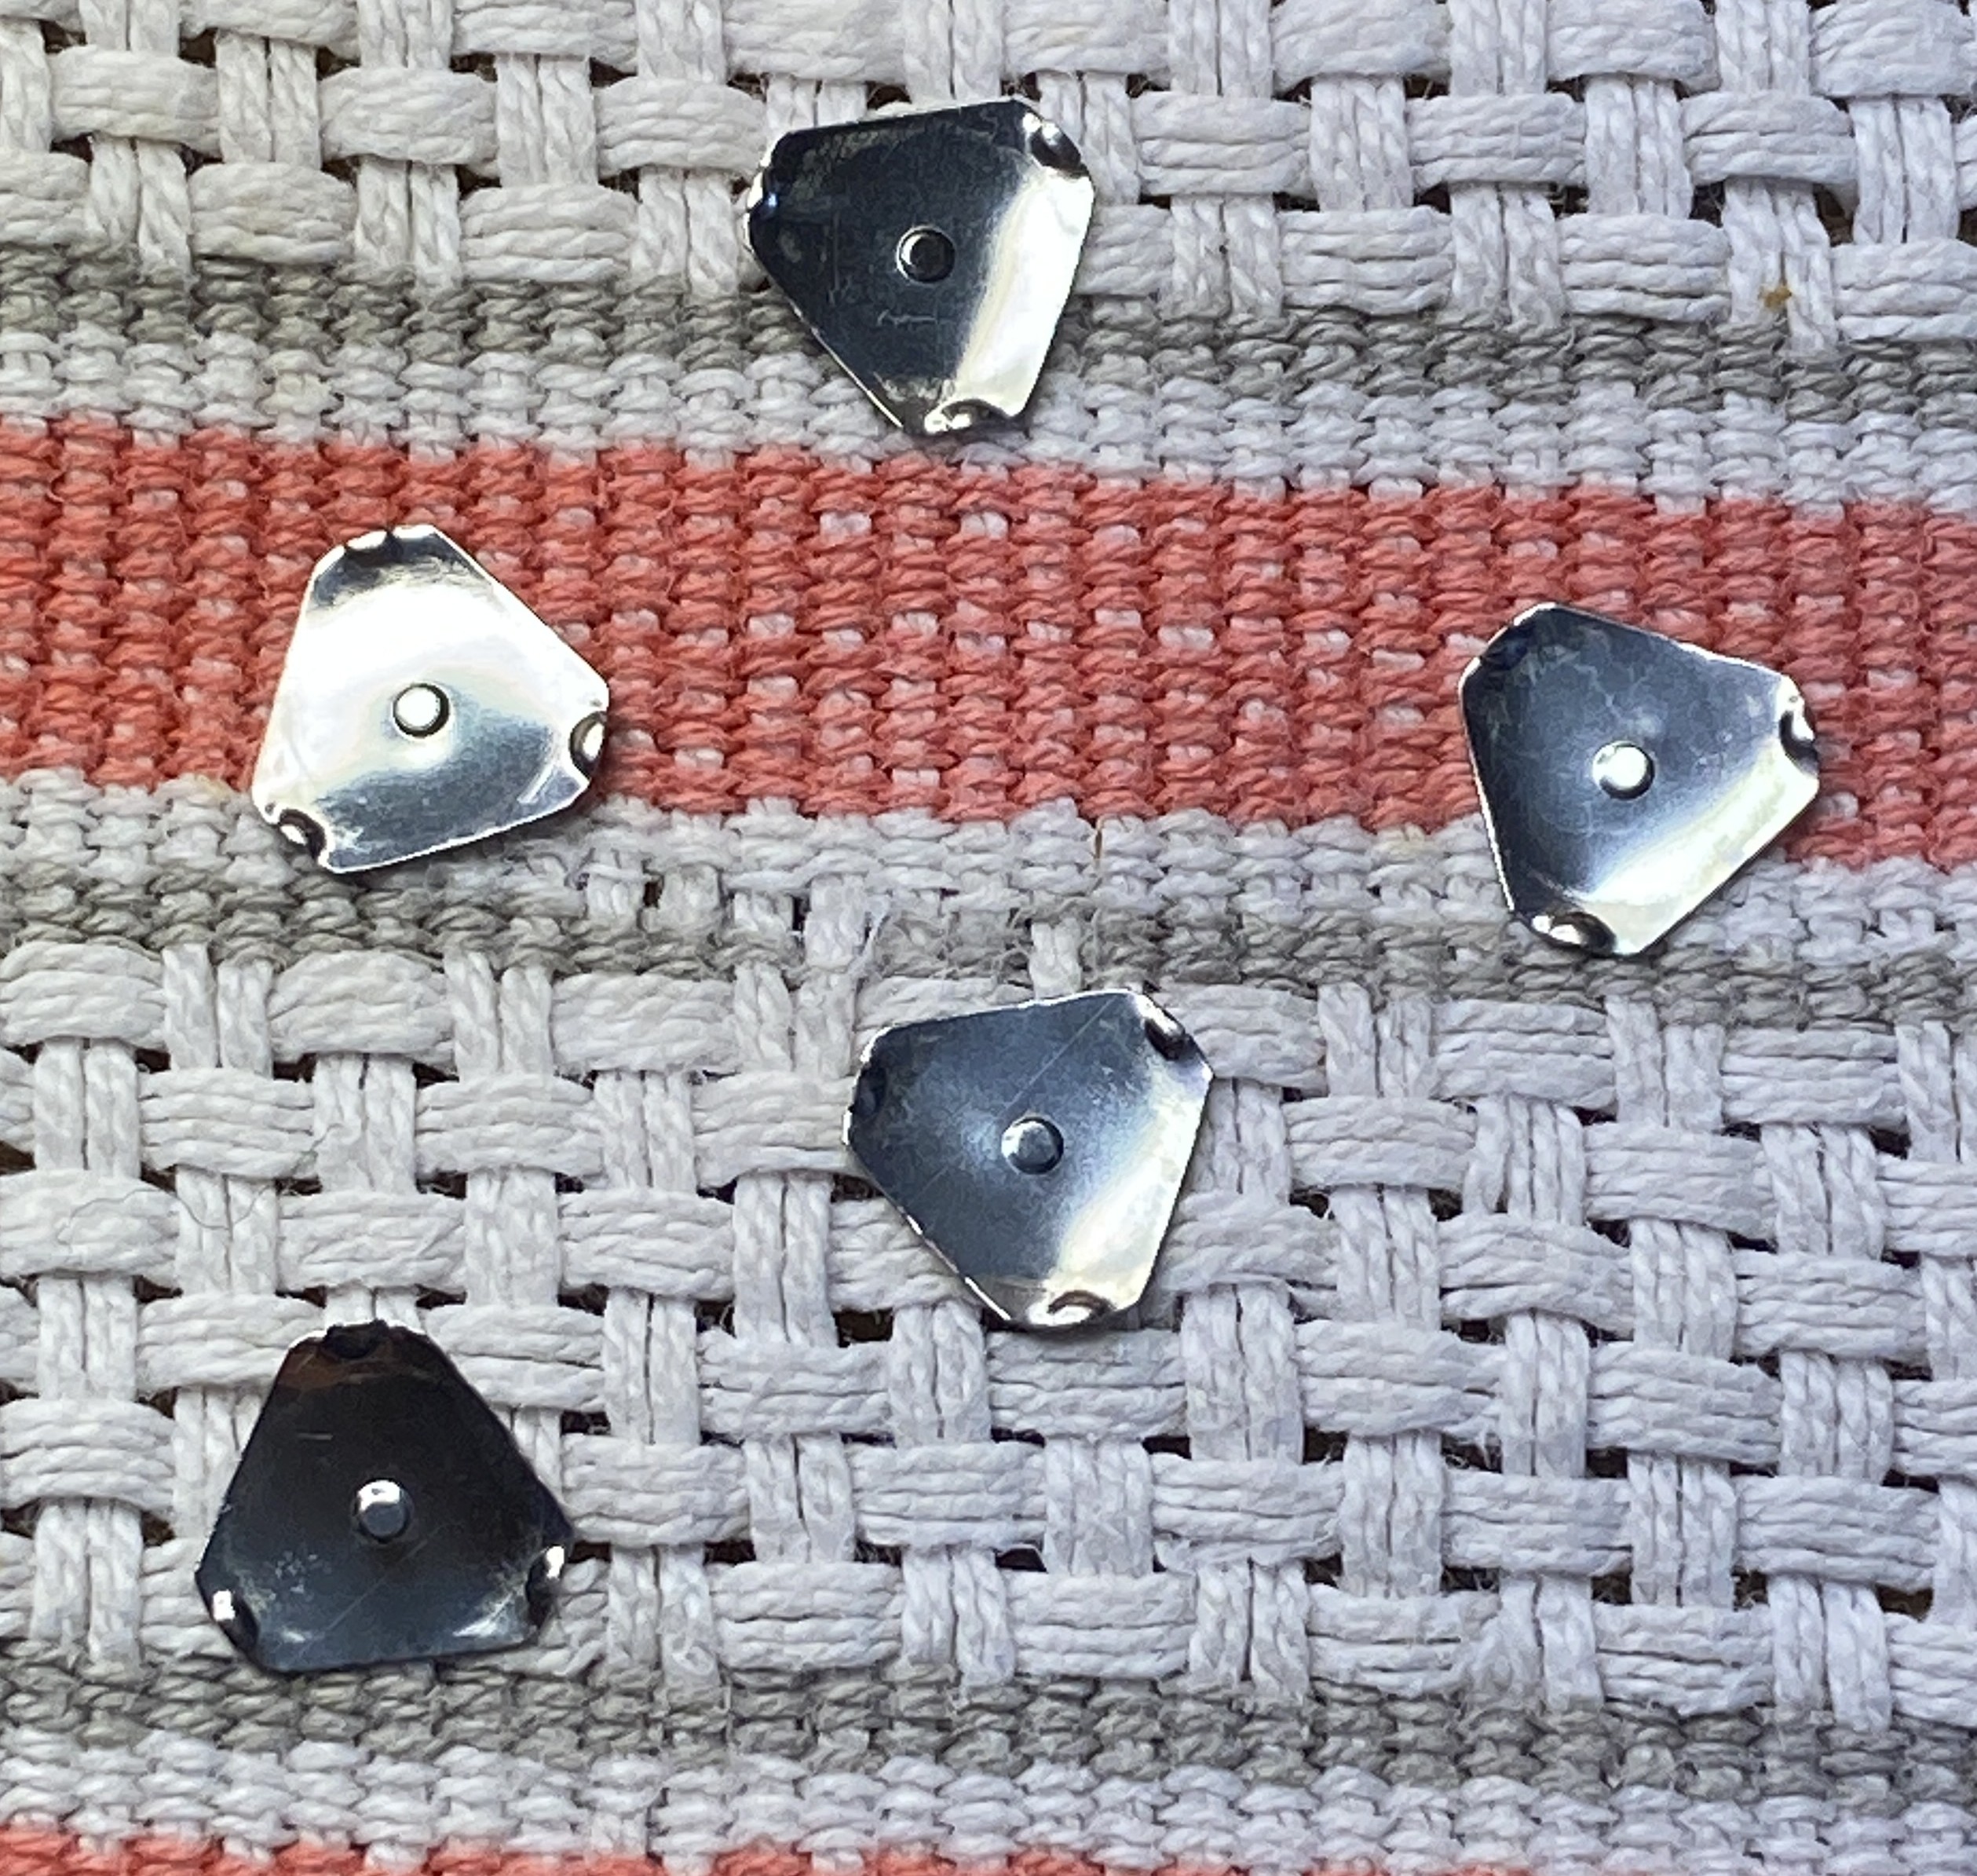
Figure 8 – Cleaned switch contacts (underneath side)
3. Re-assemble the switches
Re-assembly of the switches was done as follows:
- Each switch contact was placed in position and held there with a small strip of clear tape
- A longer run of tape was run along the top edge of the pcb, opposite the small tape strips. This run of tape was positioned to temporarily hold the bottom edges of each switch contact
- The small strips of tape were removed, and another long strip of tape was run along the wiring edge of the switch pcb. This is the tape that will permanently hold all the contacts in place.
- The small tape strips were removed and the temporary strip of clear tape was pulled out from underneath the main run of tape, leaving all the contacts in their correct positions and the remaining strip of clear tape ready to be pushed down to firmly hold the switches in their respective positions.
- At this point the unit was tested to ensure all of the switches worked correctly, which they did. Surprisingly well in fact.
- Refer to Figures 9, 10 and 11.
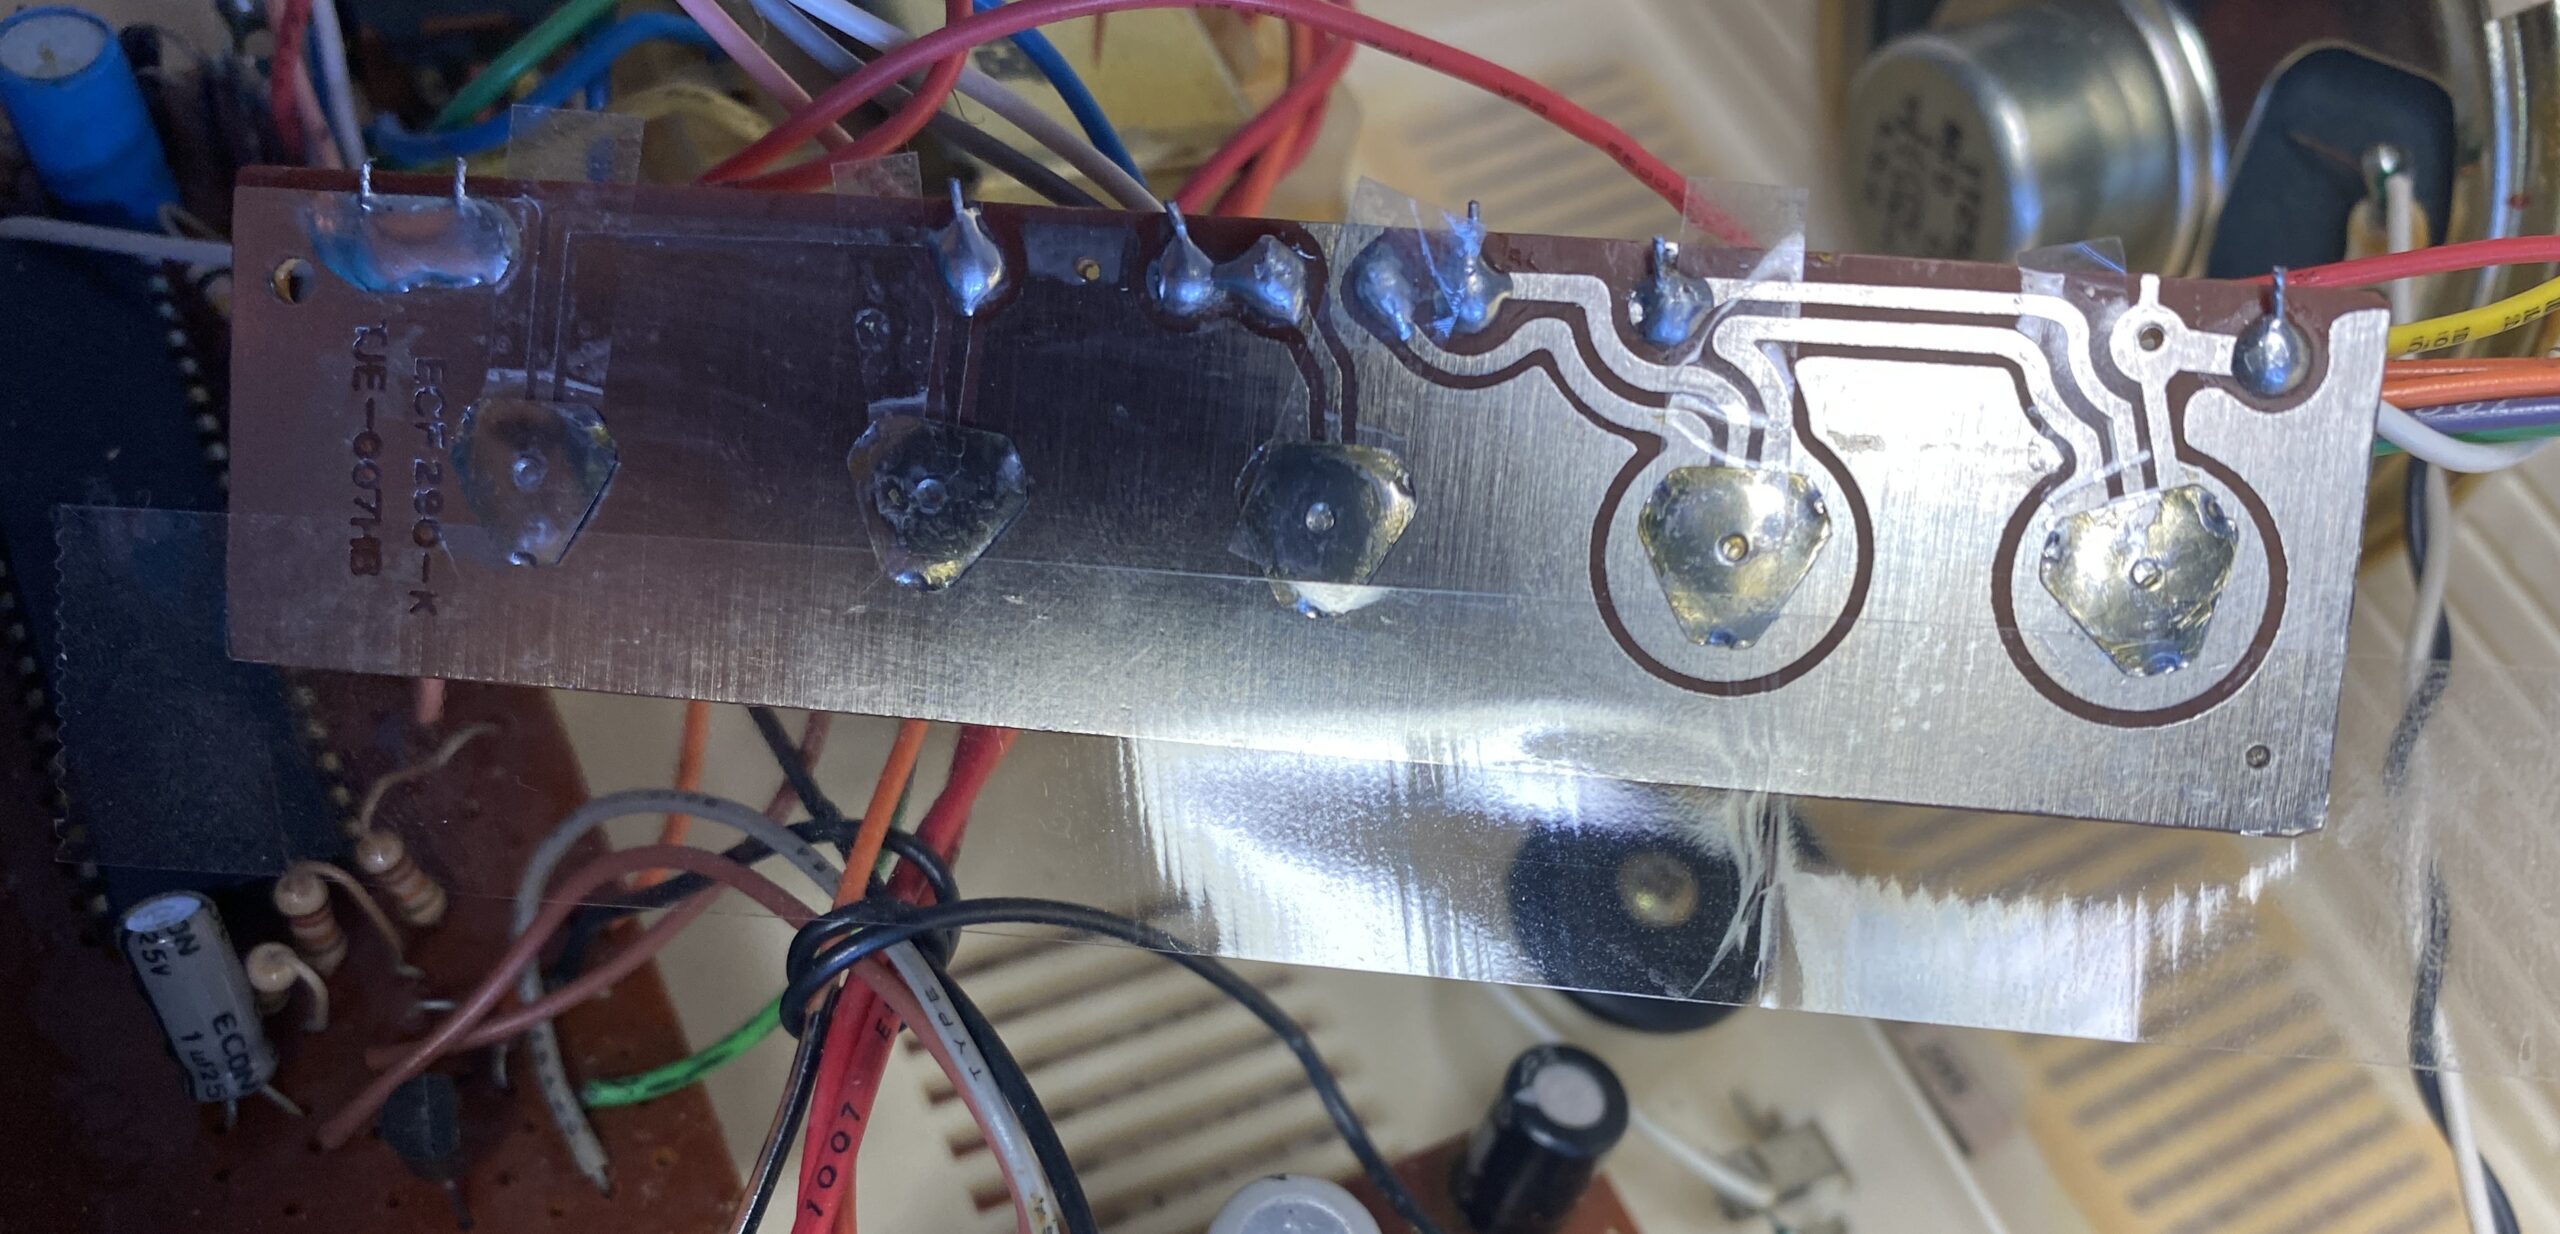
Figure 9 – Switch contacts held in place by small tape strips and long run of tape
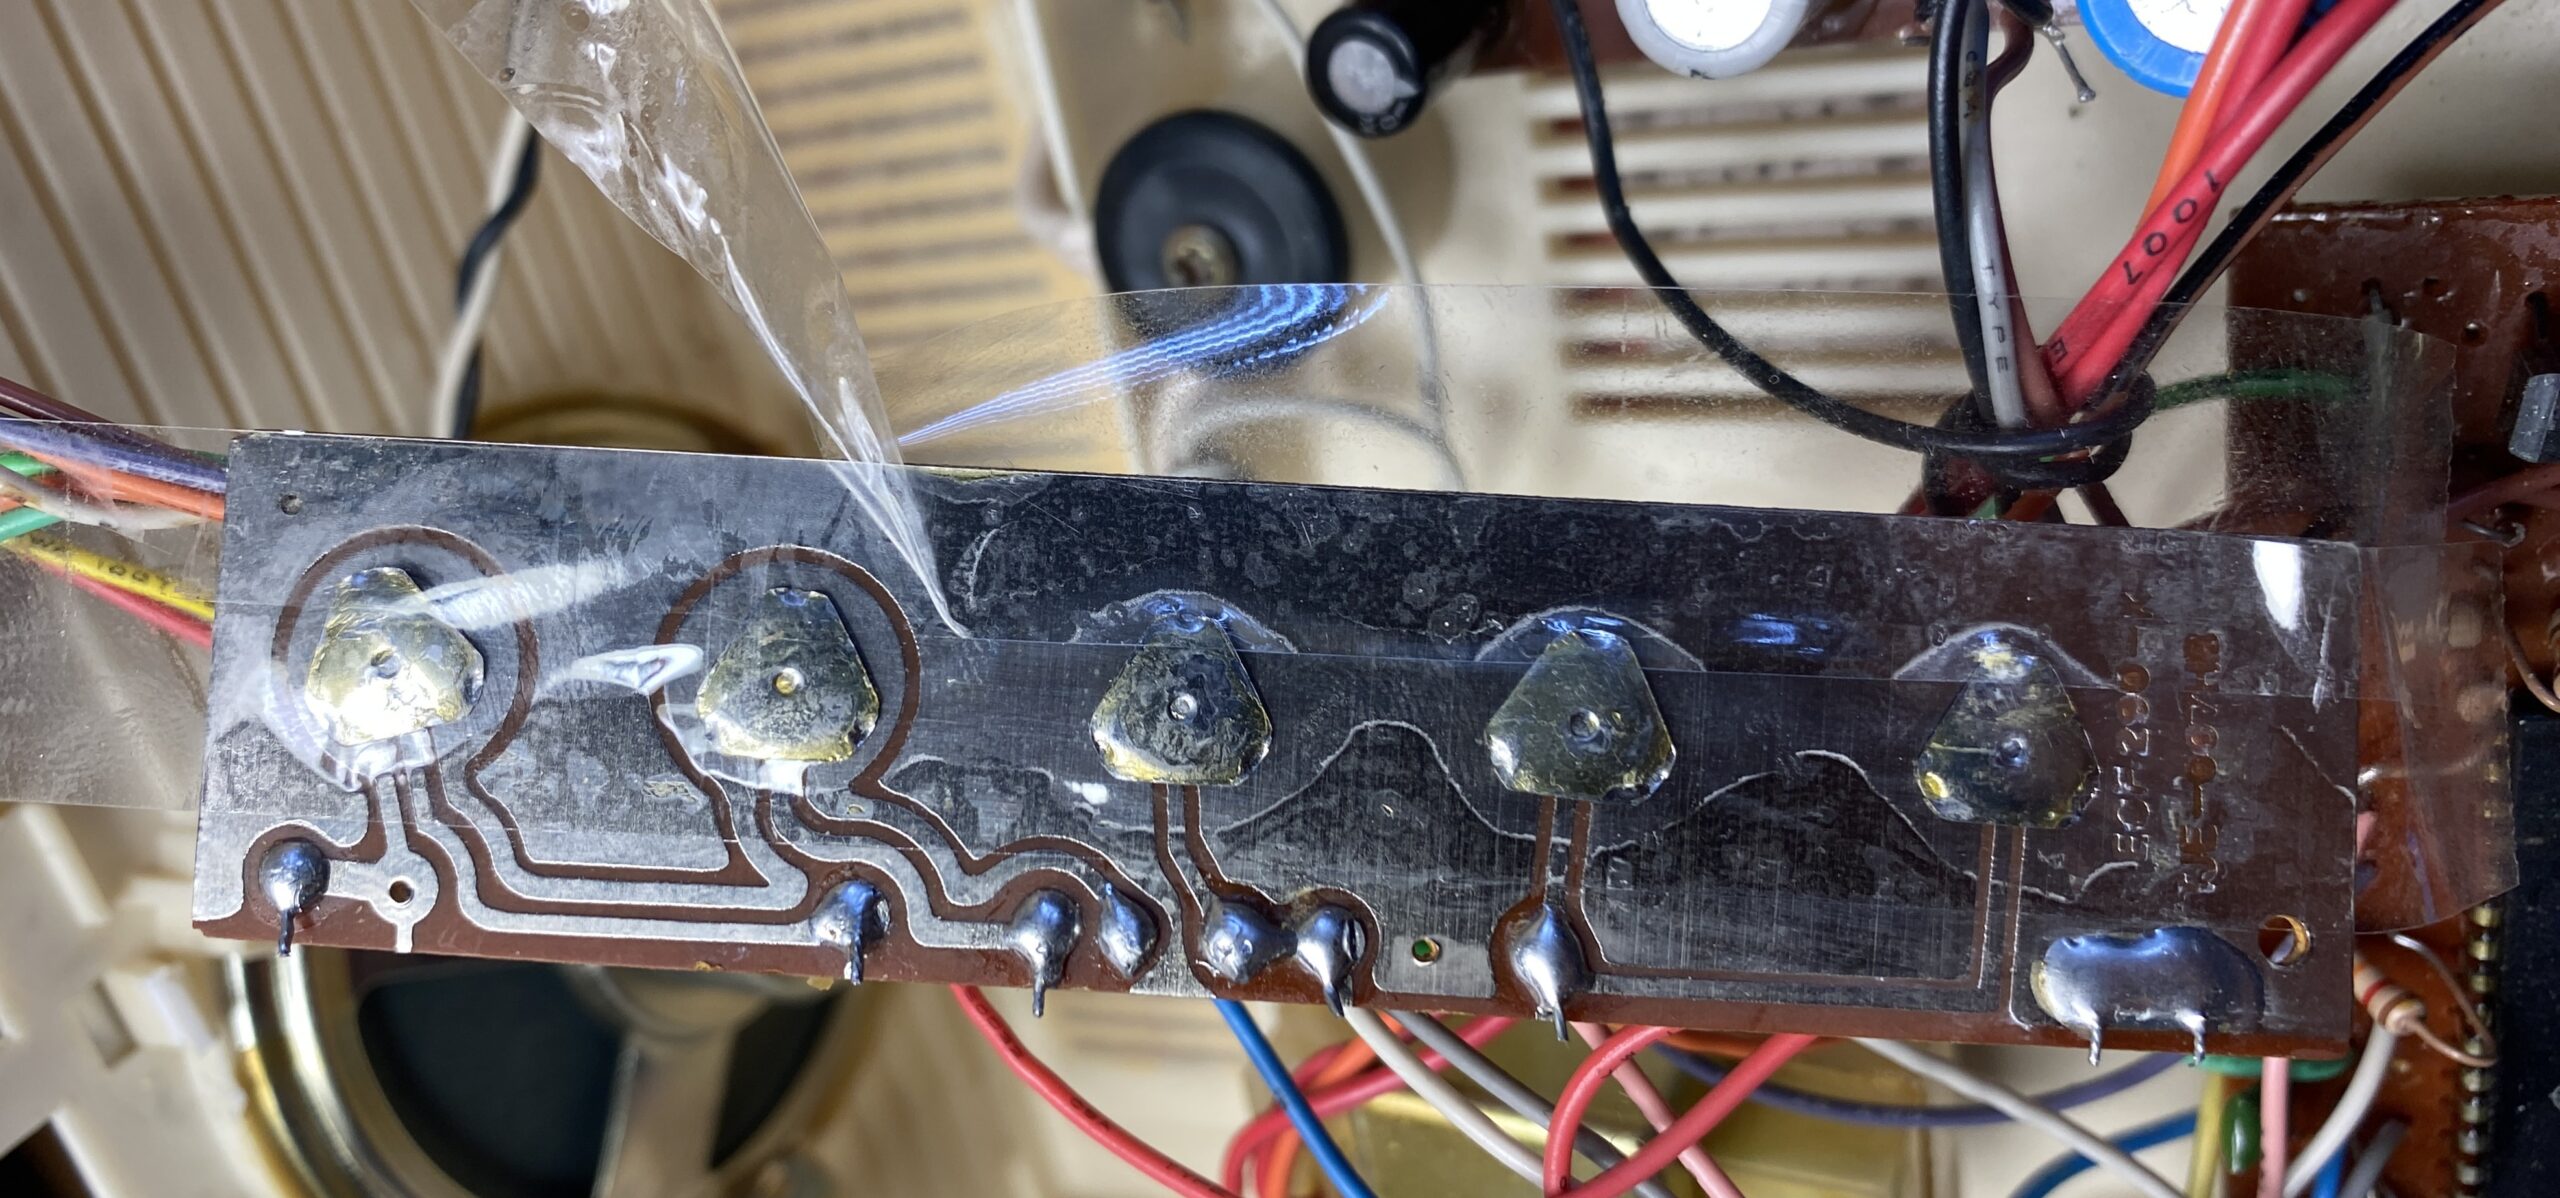
Figure 10 – Small tape strips and long run of tape being removed
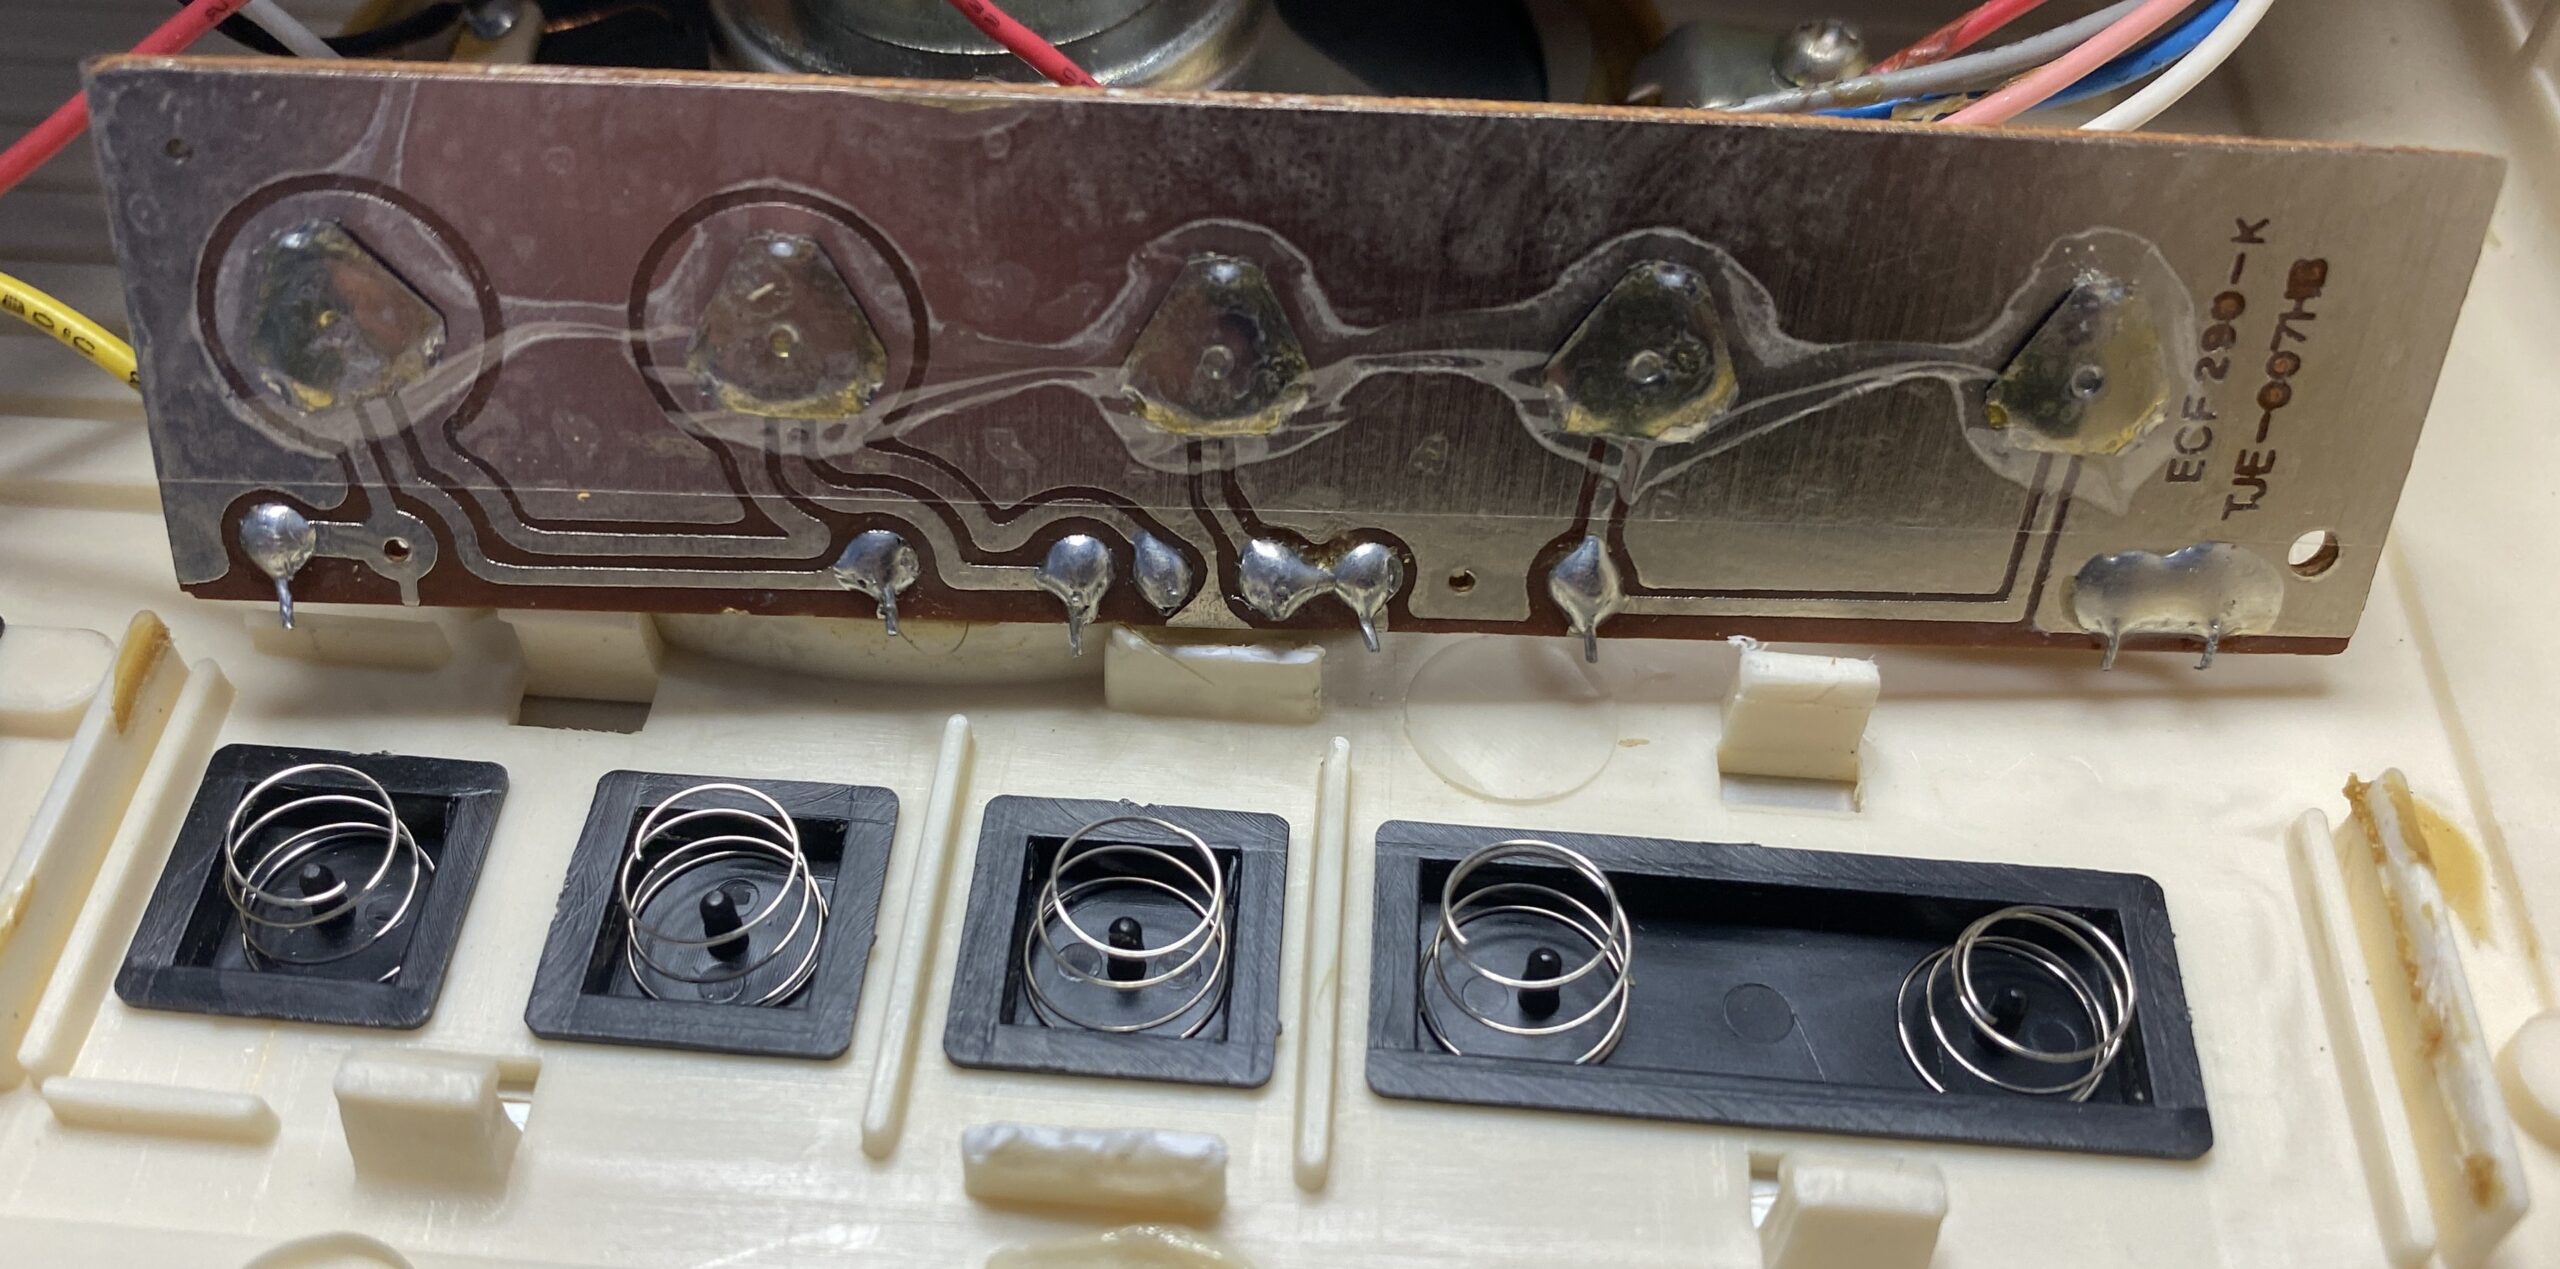
Figure 11 – Switch assembly ready for re-installation. Note how exterior buttons are back in place too, along with their respective springs
4. Re-attachment of the switch assembly into the clock radio
All that is needed now is to re-install the switch assembly, glue it back in place and close up the unit. Some of the switch assembly retaining clips inside the top case broke off, when the assembly was previously removed, due to the plastic being very old. The assembly was glued in place using contact glue. Unit was then tested again. Switches worked perfectly. As good as new. Unit was re-assembled and put back into service. Refer to figures 12, 13, and 14 below.
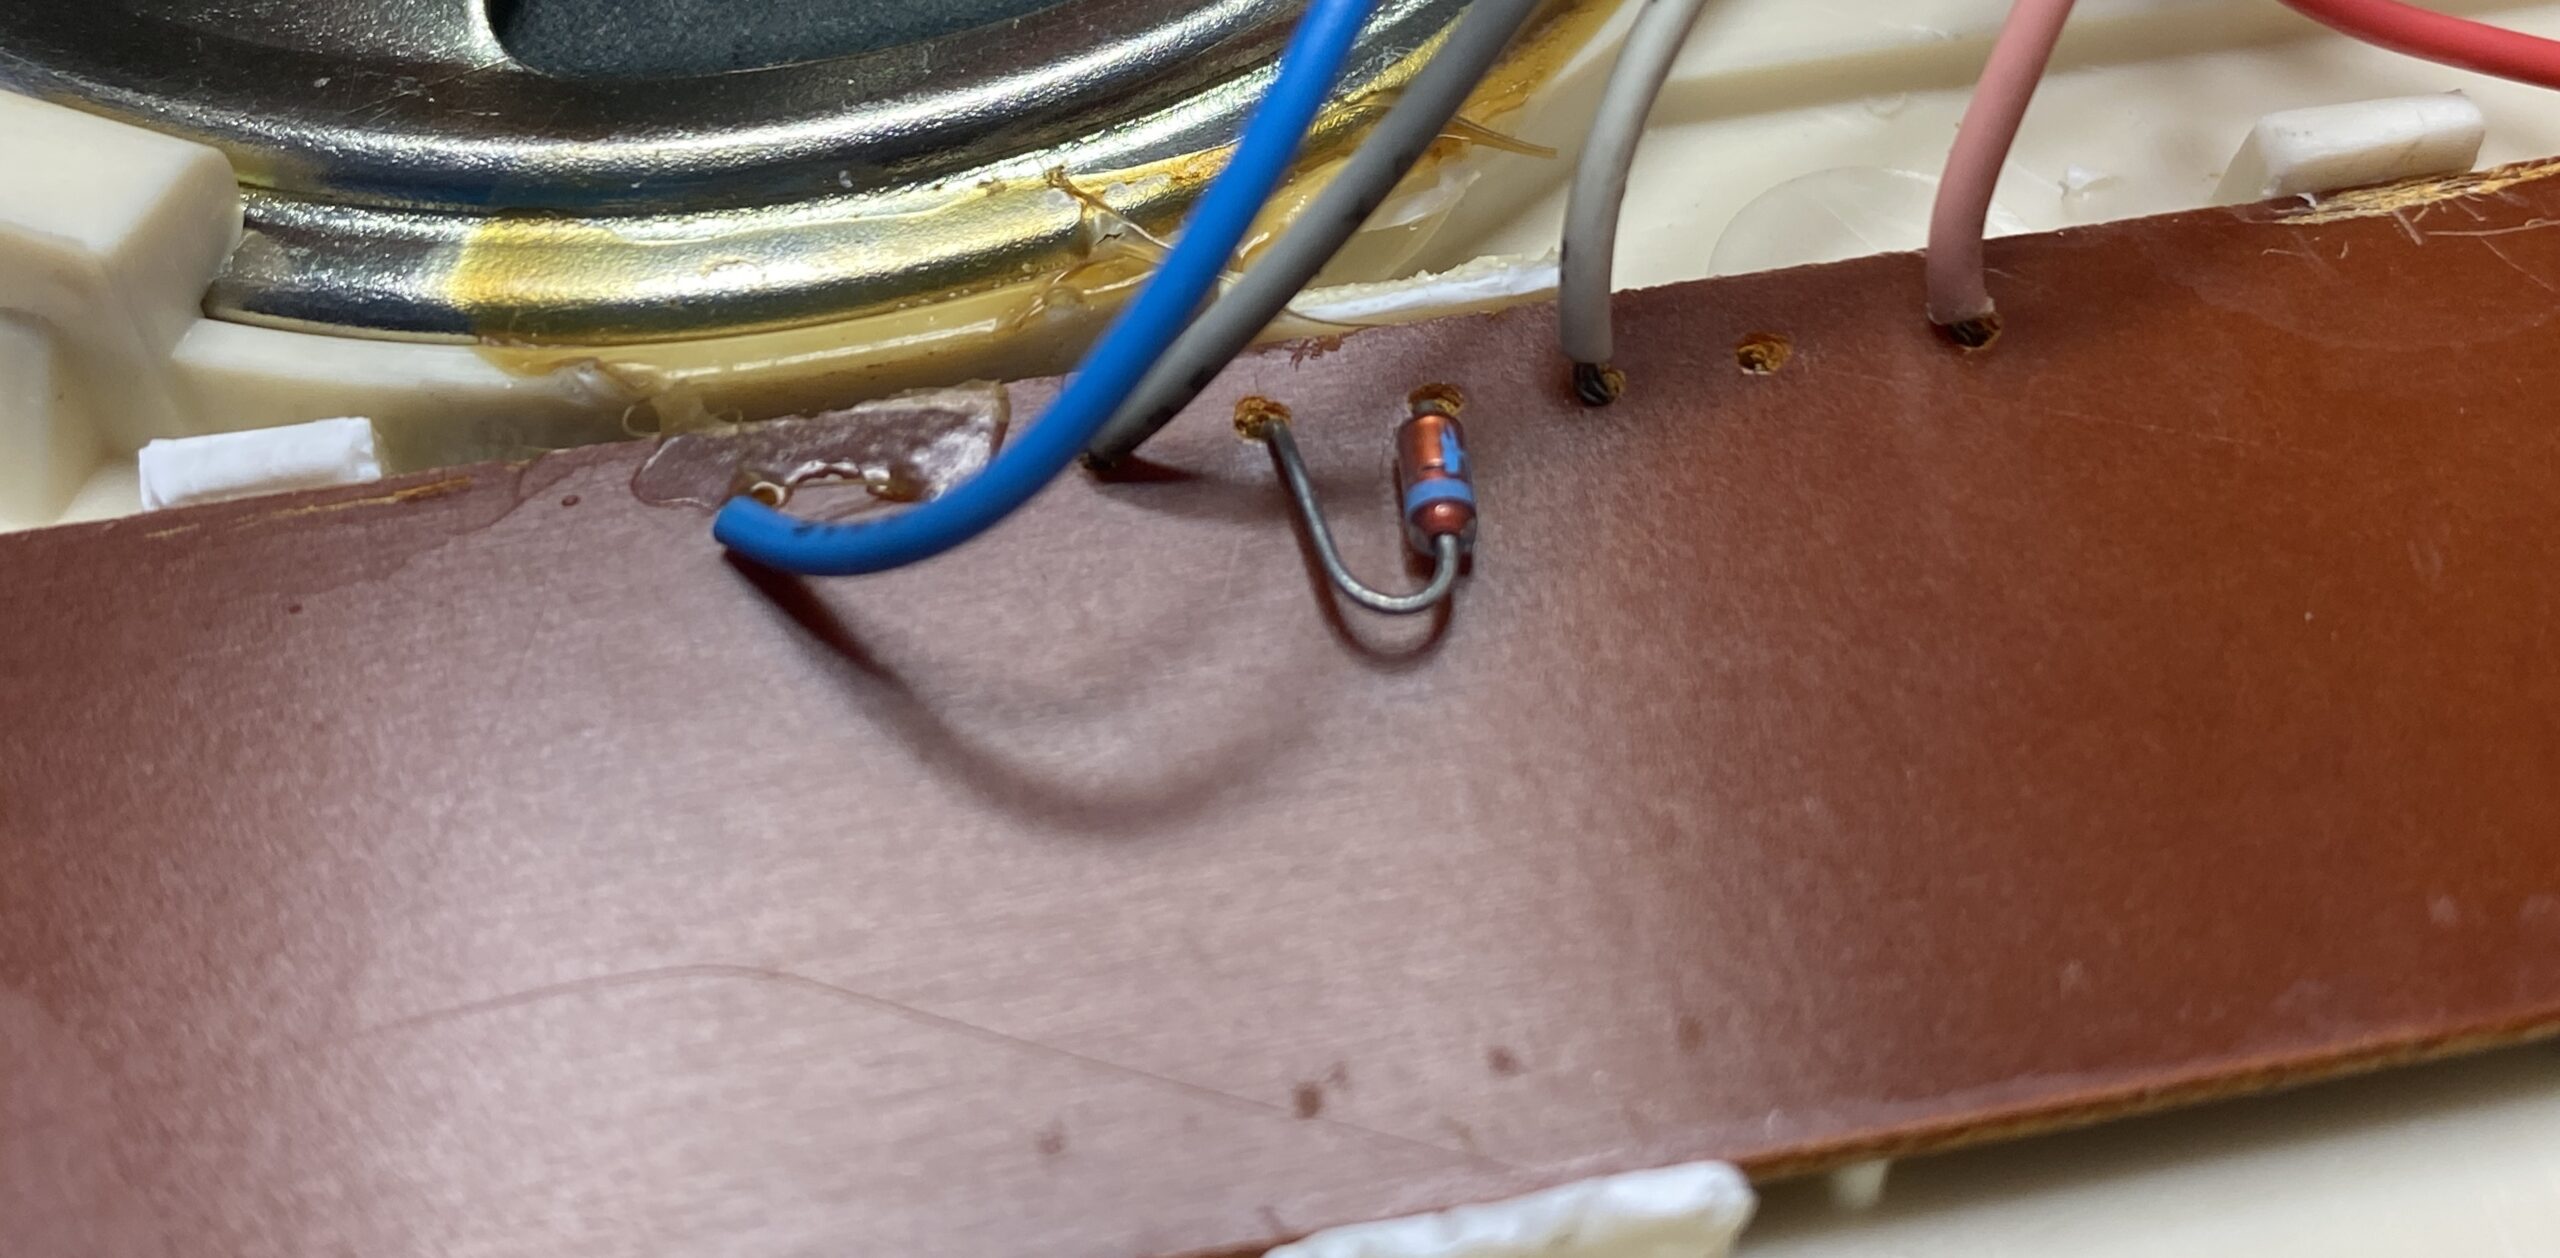
Figure 12 – Detail of broken retaining tabs
Figure 13 – Switch assembly re-installed and ready for glue
Figure 14 – Switch assembly glued in place
Another nice example of an old, late 70’s product being repairable and ready many more years of use.
Hoozammer Guitar Pedals are also built so that they are easily repairable. ‘Through hole’ components are used wherever possible, with surface mount components only used if applicable through hole components are no longer available. Hoozammers use recyclable aluminium and steel in the outer casings, along with recyclable cardboard packaging for product shipping boxes.